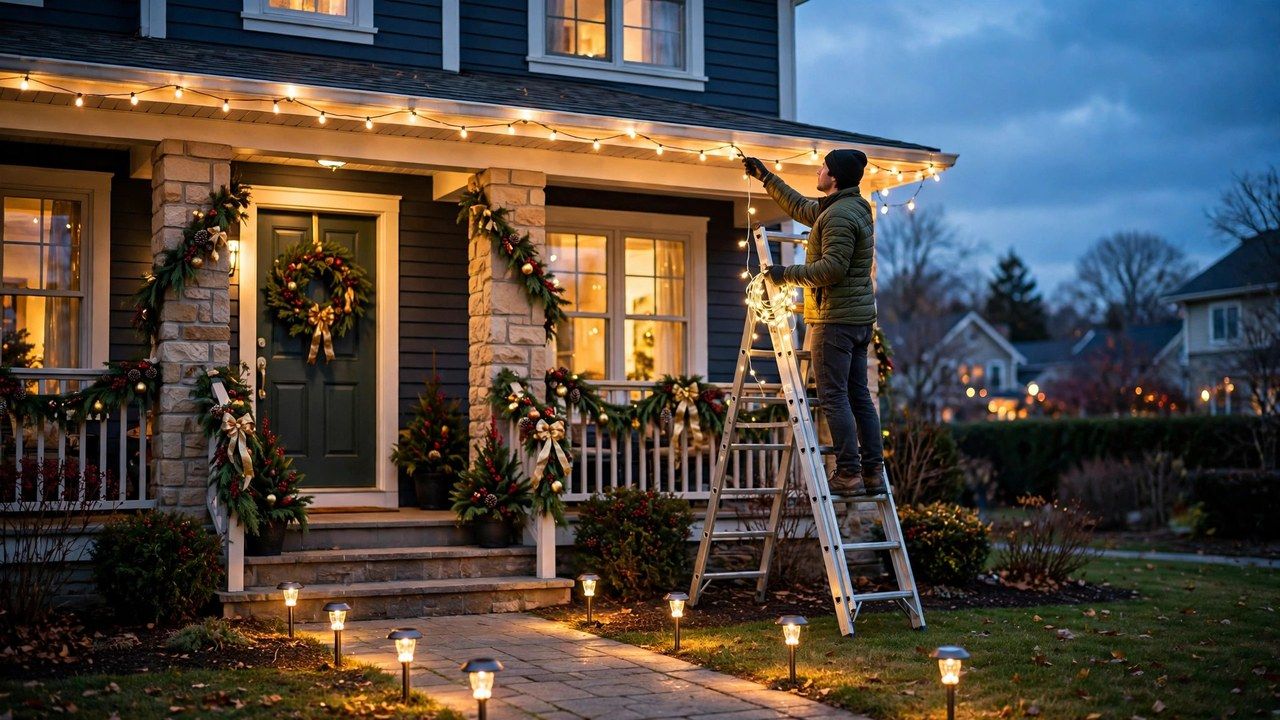
A great outdoor display is mostly decided before the ladder comes out: in the plan, the measurements and the unglamorous safety checks. Knowing how to hang christmas lights properly means your roofline comes out straight, your circuits stay within their limits, and nobody ends the season with a story that starts in an emergency room. This walkthrough takes you from sketching the display to switching it on, in the order the work actually happens, with ladder safety treated as the main event it deserves to be.
If you are still designing the look, start with our outdoor lighting ideas and the buying guidance in our Christmas lights guide, then return here to install it. One honest promise before we start: everything below assumes you work in daylight, in dry weather, with a helper. Displays installed any other way are how accidents get scheduled.
Step 1: Plan the Display on Paper First
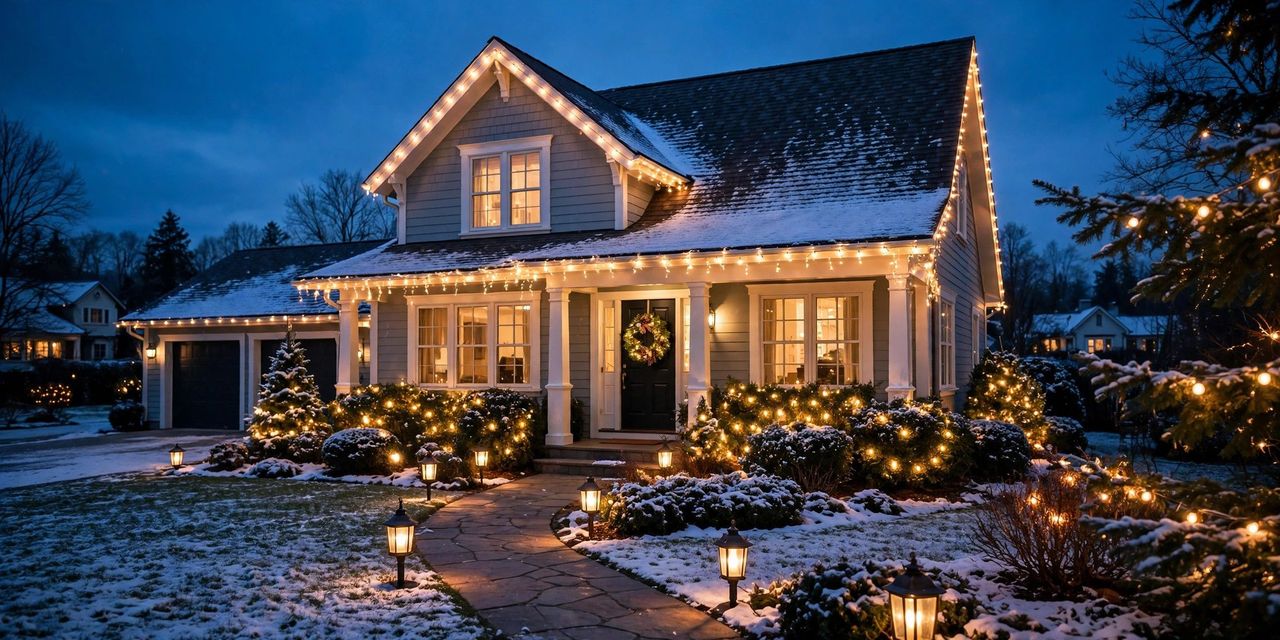
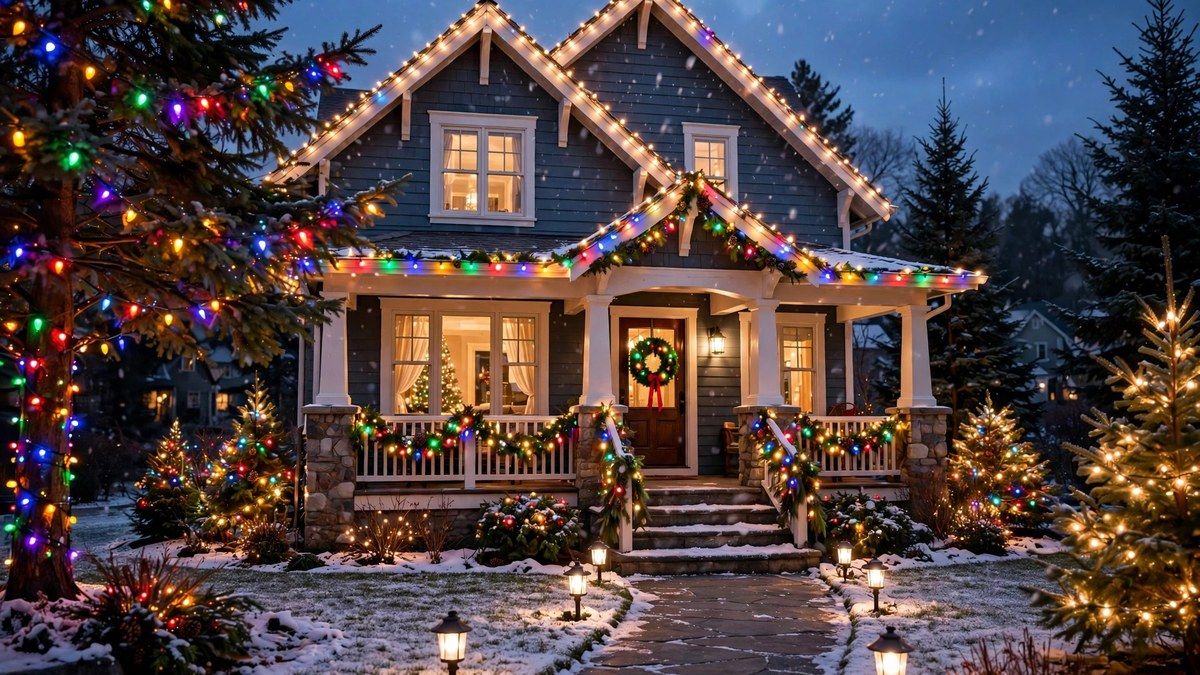
Sketch your house front and mark exactly where lights will run: roofline, gutters, windows, door frame, porch rails, trees and shrubs, and the path. Decide the style before the hardware: a clean roofline in one color reads elegant from the street, while mixing elements, roofline plus wrapped trees plus lit pathway, reads festive and layered. Planning also means deciding what you will not light, because a display with a clear focal point beats a house wearing everything it owns.
Note where your outdoor outlets are; the whole plan bends around them. Every run should start near an outlet so cords travel short, hidden paths rather than across walkways and lawns. If the perfect design needs an outlet you do not have, that is electrician territory for another season, not an extension cord across the driveway today.
Step 2: Measure Before You Buy or Climb
Measure every run with a tape along the ground beneath it, following the line the lights will take, then add a little slack for swags and corners. Guessing roofline length is the classic way to end up one strand short with the ladder already up. Count your strands the way indoor decorators do, checking each set's bulb count and lit length, and confirm how many strands may be connected end to end from the manufacturer's stated limit, which is a safety rating, not a target.
While you measure, test every strand on the ground: plug it in, check for dead sections, cracked sockets and frayed wire, and replace anything damaged. A strand that fails on the lawn costs a trip to the store; a strand that fails on the roof costs the whole afternoon. Label sets by where they belong with a tag of tape, and you will thank yourself at takedown in January and again next November.
Step 3: Use Outdoor-Rated Everything, on a GFCI Outlet
Every component that lives outside must be rated for outdoor use: light strands, extension cords, timers, stakes and clips. Indoor cords outside are a genuine hazard, not a shortcut. Plug the display into a GFCI protected outlet, the kind with test and reset buttons, which cuts power quickly if electricity finds a path it should not, and test the GFCI before installation day. Keep connections off the ground and out of puddle zones, and where two cords join, protect the joint from weather as directed by the cord's maker.
Stay within the total load the outlet, timer and strands are rated for, and never daisy chain beyond the strand manufacturer's connection limit because the plugs happen to fit. LED strands make all of this easier: they draw far less power, so longer connected runs stay comfortably inside limits. If anything about your home's outdoor wiring seems damaged, ancient or improvised, that is a stop sign: have an electrician look before the display goes up.
Step 4: Clips, Not Staples, Nails or Screws
Attach lights with purpose made plastic clips, never with a staple gun, nails or screws through or near the wire. A staple through insulation is a short circuit waiting for rain, and it voids any illusion of safety the rest of your care created. Clips come in types for gutters, shingles and all in one designs that grip both, holding the strand by its socket base so bulbs sit evenly, pointing the same direction, which is what makes a roofline look professionally straight instead of homemade wobbly.
The ground level trick the pros use: attach clips to the strand on the ground, at the spacing you want, then hang the assembled run in one pass. You spend less time on the ladder, the spacing is even, and adjustments happen at waist height. Keep spare clips in your pocket on the ladder, because one always drops, and a mid run repair with the right clip takes seconds.
Step 5: Ladder Safety, the Section That Matters Most
Set the ladder on firm, level ground, never on ice, wet leaves or a slope you have talked yourself into, and keep its base about one foot out for every four feet of height. Always keep three points of contact, two feet and one hand or two hands and one foot, and never lean out sideways to reach one more clip: climb down, move the ladder, climb back. It is slower and it is the entire point. Overreaching is how ladder falls happen, and they happen to careful people on familiar ladders.
Have your helper foot the ladder and hand up strands so you are not climbing one handed with a tangle around your neck. Wear shoes with grip, keep tools in a belt or bucket rather than pockets, and stop if wind picks up or light starts failing: a half finished roofline in good weather tomorrow beats a finished one in a gust today. Never work near overhead power lines, and treat any line you cannot clearly identify as a reason to move the ladder, full stop. Roofs themselves are for professionals; this whole method is designed so your feet never leave the ladder.
Step 6: Hang the Runs, Highest First
Work from the top down, roofline first, then architectural lines like windows and doors, then porch and railings, then trees, shrubs and ground level elements last. Top down means dropped strands and clips land on unlit areas rather than on finished work, and you can judge each new layer against the ones above it. Keep strands snug but not strained, with the gentle, even rhythm that reads as intentional from the street.
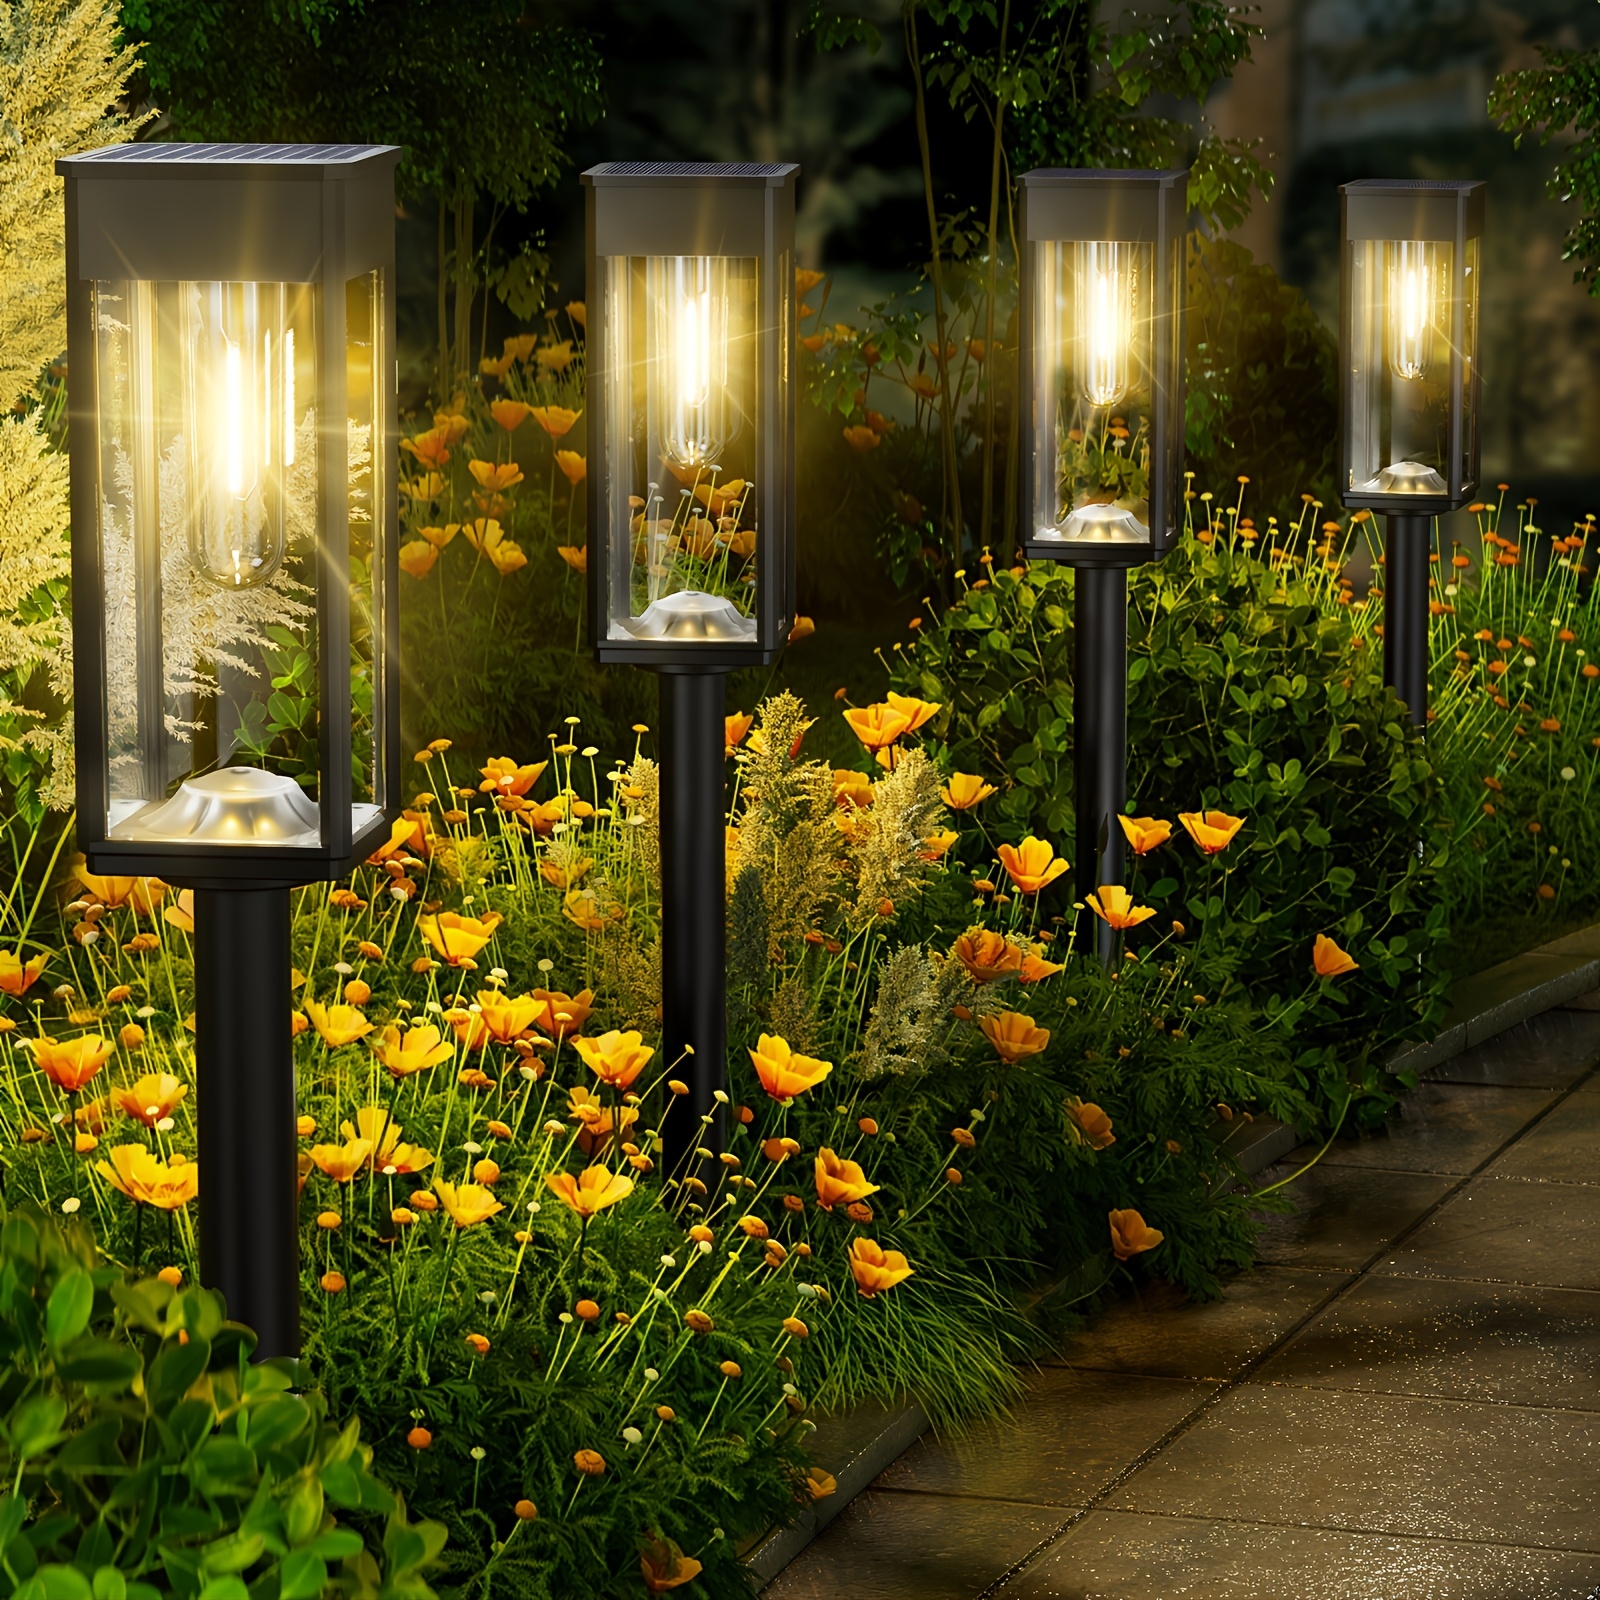
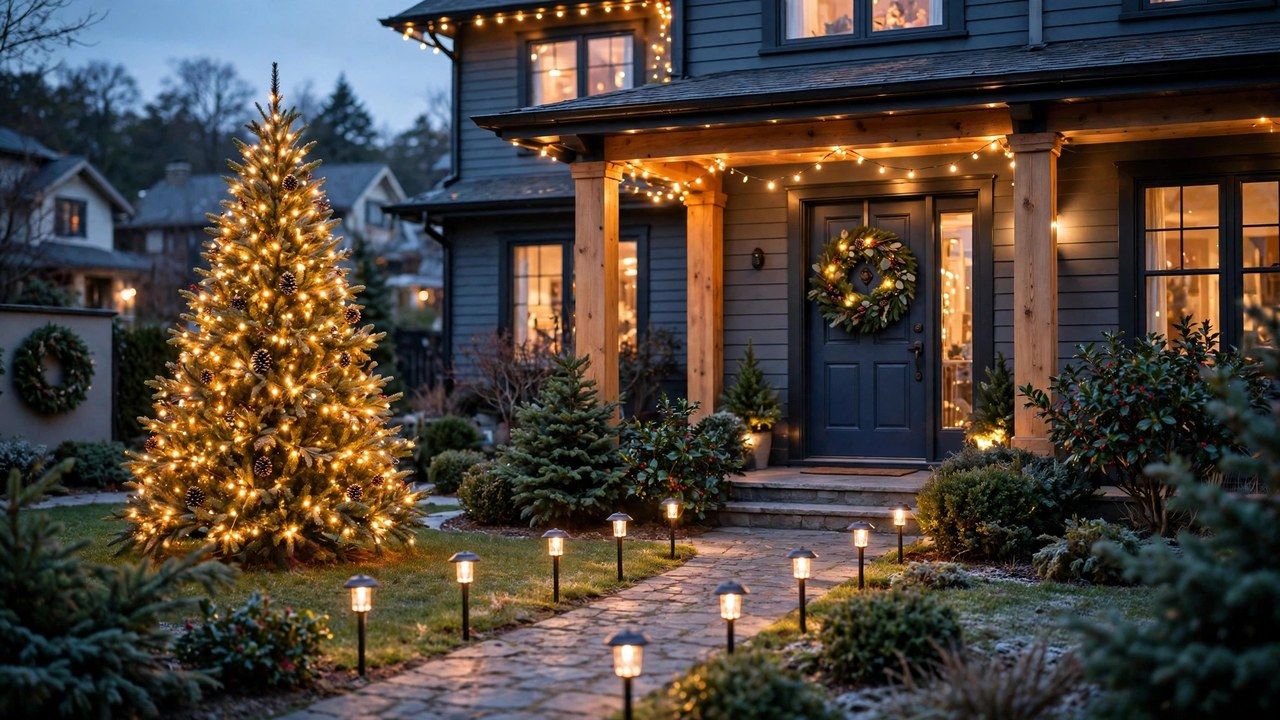
For shrubs and trees, drape and weave rather than winding tightly; tight winding fights you at takedown and strangles the look. Net lights exist precisely for shrubs and give even coverage in minutes. At the path and steps, ground lighting earns its keep twice, once for looks and once so guests can actually see the steps, which is where a verified pick in our lighting pick section below comes in: solar pathway lights need no wiring at all and mark the walkway your roofline cannot reach.
Step 7: Timers, Switch-On and the Street Test
Put the finished display on a timer rated for outdoor use so it runs the same hours nightly, typically dusk to bedtime, without anyone braving the cold to plug and unplug. Timers save power, save arguments, and keep the display off overnight and when nobody is home to enjoy it, which is both thriftier and safer. Photocell timers that wake at dusk remove even the clock setting from your life.
Then take the street test: walk to the curb and across the road, in the dark, and look at your house the way everyone else will. You are checking for dark gaps, a sagging section, one run noticeably brighter or whiter than the rest, and any strand hanging where it will annoy a neighbor's window. Five minutes of adjustment from this viewpoint is worth an hour of fussing from the ladder, and it is the difference between a display and the display. Round out the scene with the whole yard ideas in our yard decorations guide if the bug has bitten.
Step 8: Takedown and Storage That Save Next Year
Take lights down on a dry day in January, reversing the order: ground level first, roofline last, with the same ladder discipline as installation, because January ladders are colder and nobody's patience is fresh. Remove clips with the strands, coil each set loosely around your arm or a card, and never yank a strand down by its end, which is how sockets crack and next year's dead sections are born.
Store strands coiled, labeled by location, in a dry place with the clips and timer, following the system in our Christmas storage guide. Note any set that failed or flickered on the label, while you still remember. This ten minutes of January honesty is what makes next November start with working lights, an accurate strand count and no emergency store run. Your future self, on a ladder, in the cold, will be extremely grateful.
Conclusion
Plan it, measure it, use outdoor rated gear on a protected outlet, clip rather than staple, treat the ladder with total respect, hang high to low, and test the view from the street. Hanging outdoor Christmas lights well is not a talent; it is a sequence, and now you have it. Switch on at dusk, and enjoy being the house people slow down for.