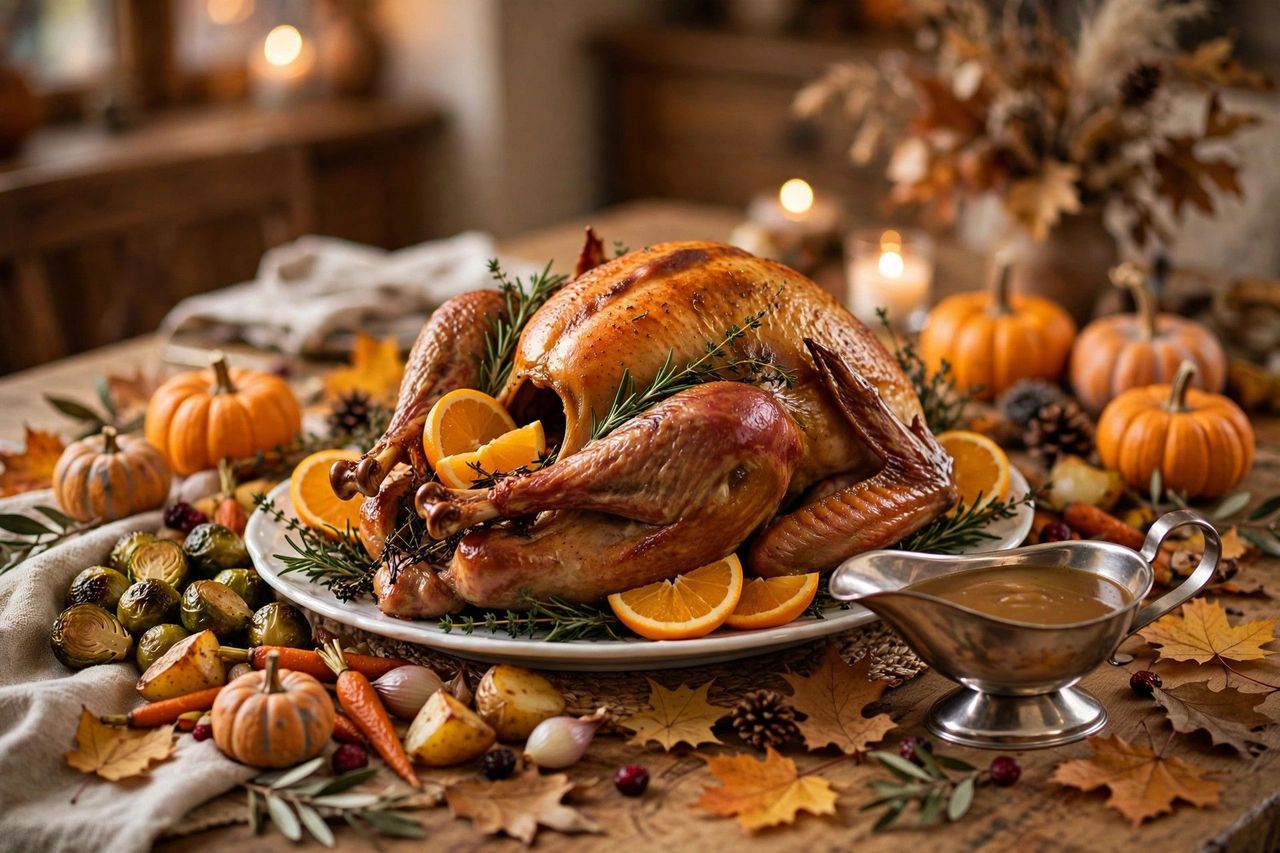
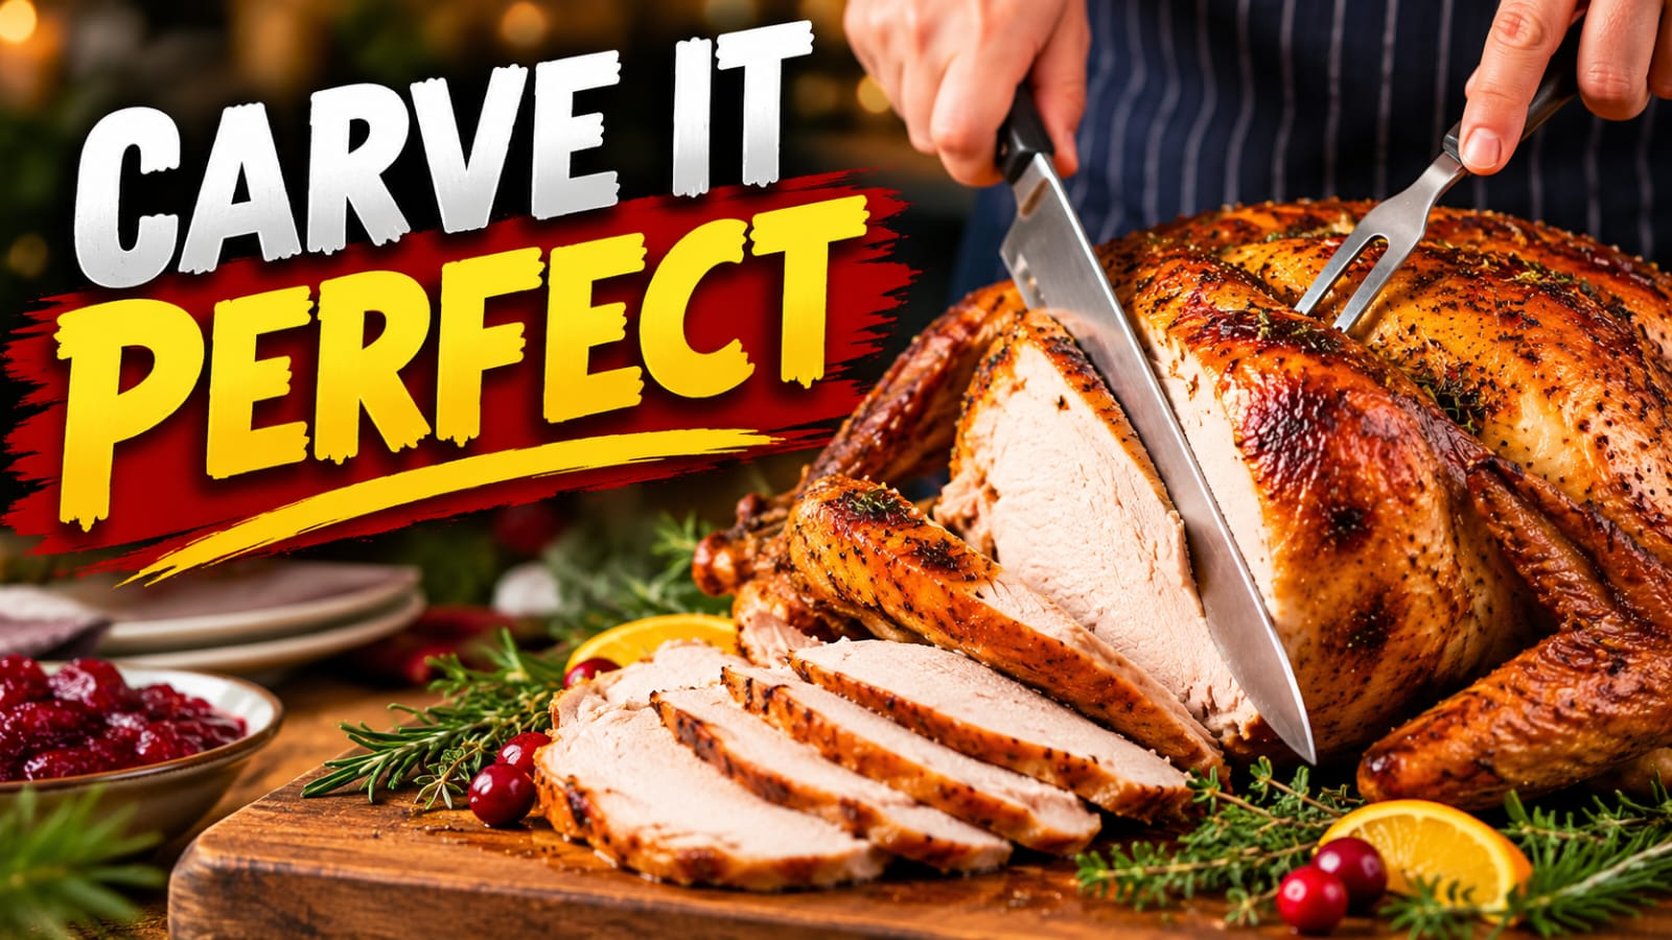
You roasted the turkey perfectly. Now comes the part that makes everyone nervous: carving it. The good news is that carving is not about strength or fancy knife skills. A turkey is built with natural seams and joints, and if you follow them, the bird practically takes itself apart. This step-by-step guide walks you through resting, removing the legs and thighs, carving the breast two different ways, plating it like a pro, and storing leftovers safely, so every slice on the platter is juicy and worth the wait.
Tools You Need Before You Start
Set everything out before the bird comes out of the oven. Carving goes smoothly when you are not hunting for equipment with greasy hands.
- A long, sharp carving knife: An 8 to 10 inch slicing or chef's knife is ideal. An electric carving knife also works beautifully and is very forgiving for beginners.
- A carving fork: For steadying the bird without squeezing out juices. A sturdy pair of tongs works too.
- A large cutting board with a juice groove: Big enough for the whole bird, ideally with a rim or groove to catch the juices. A clean kitchen towel underneath stops it sliding.
- A warmed serving platter: For the finished slices, plus a small bowl to catch extra juices for the gravy.
- An instant-read thermometer: To confirm the thigh reads 165 degrees before you start.
- Foil and paper towels: Foil for tenting during the rest, towels for gripping slippery skin.
- A bowl or sheet pan for the carcass and scraps: Everything you trim goes straight here for stock later.
One more essential: sharpen or hone the knife before you begin. A dull knife tears meat, shreds the skin, and is the single most common cause of ugly slices. Ten passes on a honing steel makes a visible difference.
Rest the Bird First: The Step That Keeps It Juicy
Do not carve a turkey straight out of the oven. When meat roasts, its juices are pushed toward the center of the bird. If you cut immediately, those juices run straight out onto the board and the meat turns dry within minutes. Resting lets the juices redistribute evenly through the breast and thighs, so they stay in the slices where they belong.
Transfer the turkey to your carving board, tent it loosely with foil, and rest it for at least 20 to 30 minutes. A large bird, 20 pounds or more, benefits from up to 45 minutes. Do not worry about it going cold: a whole turkey holds its heat remarkably well under foil, and this window is exactly when you should be making the gravy from the pan drippings and finishing your side dishes. Before the first cut, slip the thermometer into the thickest part of the thigh without touching bone. It should read 165 degrees.
Step 1: Remove the Legs and Thighs
Start with the dark meat, one side at a time. Place the turkey breast-side up with the legs facing you. Slice through the skin between the breast and the top of the leg. Then pull the whole leg outward and down, away from the body, until you feel and hear the hip joint pop. That pop means the joint has opened and the leg is now held on mostly by skin and a small amount of meat.
Turn your knife into the opened joint and cut straight through it, following the curve of the body. You should never need to saw through bone: if the knife meets resistance, you are missing the joint, so pull the leg a little further out and try again. Keep trimming close to the carcass so you do not leave meat behind, and do not forget the oyster, the small, richly flavored round of meat tucked in a pocket on the back near the hip. It is the cook's reward. Repeat on the other side.
To separate the drumstick from the thigh, lay the leg skin-side down and find the knee joint: look for the thin line of white cartilage between the two bones, and wiggle the drumstick to see where it bends. Cut straight through that line. Slice the thigh meat off its flat bone with cuts parallel to the bone, into pieces about half an inch thick. Drumsticks can go to the platter whole; plenty of guests fight over them.
Step 2: Carve the Breast the Classic Way
With the legs off, the breast is easy to reach. Steady the top of the bird with your fork or a folded towel, without pressing down. Find the breastbone, the ridge running down the center of the breast, and place your knife just to one side of it. Slice downward in long, smooth strokes, following the curve of the rib cage as closely as you can, cutting slices about a quarter to half an inch thick. Let each slice fall away onto the board, and use the flat of the knife to move slices to the platter as you go.
Work from the outside in: start each new slice slightly higher and closer to the breastbone than the last, keeping the thickness even. Use the full length of the blade in each stroke rather than sawing back and forth in short motions, which shreds the surface. When the slices start coming away small and uneven near the bottom of the breast, you have reached the end of that side. Turn the bird and repeat on the other breast.
Step 3: The Easier Method: Remove the Breast, Then Slice
If slicing on the bird feels awkward, this is the method most professional cooks quietly prefer. Run your knife along one side of the breastbone from top to bottom, then keep cutting downward with the blade angled against the rib cage, easing the whole breast half away from the carcass in one large piece. Short, gentle strokes free it completely, including the tenderloin underneath, which you can pull off with your fingers.
Lay the breast skin-side up on the board. Now simply slice it across the grain into even pieces, about half an inch thick, holding the slices together with your free hand as you cut so they stay in a neat row. Because the breast is flat on the board, every slice comes out the same thickness, the skin stays attached to each piece, and cutting across the grain guarantees tender bites. Fan the slices straight onto the platter in the order you cut them. Repeat with the other breast.
Step 4: Wings and the Last Bits
Wings come off the same way as the legs. Pull each wing outward from the body until the shoulder joint loosens, then cut through the joint where it meets the breast. Serve wings whole for the guests who love them, or split them at the middle joint into drumette and flat. Finally, turn the carcass over and check for any meat you missed along the back, and pull off any loose, well-browned pieces for the platter. Save the entire carcass, plus the neck and giblets if you have them, for turkey stock; it freezes well if you are not making soup within a day or two.
Arrange the Platter Like a Pro
Presentation takes two minutes and makes the whole meal feel special. Warm the platter first, either with a rinse of hot water dried off, or a few minutes in a low oven, so the meat does not cool on contact. Fan the breast slices down the center of the platter, overlapping them slightly like fallen dominoes, skin-side up. Arrange the sliced thigh meat on one side and place the whole drumsticks and wings at the ends to frame everything.
Spoon a little of the warm board juices or a ladle of thin gravy lightly over the breast meat. This adds a glossy finish and replaces surface moisture, but do not flood the platter or the crisp skin goes soggy. Tuck a few sprigs of fresh rosemary, thyme, or parsley around the edges, and a small handful of fresh cranberries or orange slices adds the classic Thanksgiving color. Carry the platter to the table promptly; carved turkey is at its best within about 15 minutes of slicing.
Gravy Timing: Keep Everything Hot
The rest period is your gravy window, and the two jobs dovetail perfectly. While the turkey rests, pour the roasting pan drippings into a jug, let the fat rise, and skim or pour it off. Set the roasting pan over two burners, whisk flour into a few spoonfuls of the hot fat to make a roux, then deglaze the pan with stock, scraping up every browned bit, and whisk in the defatted juices until the gravy thickens and simmers.
If the gravy finishes before you are done carving, keep it warm over the lowest heat with a stir now and then, or pour it into a preheated thermos, an old diner trick that keeps gravy steaming hot without scorching. If carving runs long, cover the finished platter loosely with foil and rest it in a low oven, around 200 degrees, for a few minutes only. Aim to sit down with hot gravy, warm meat, and sides coming out of the oven at the same moment.
Storing Leftovers Safely
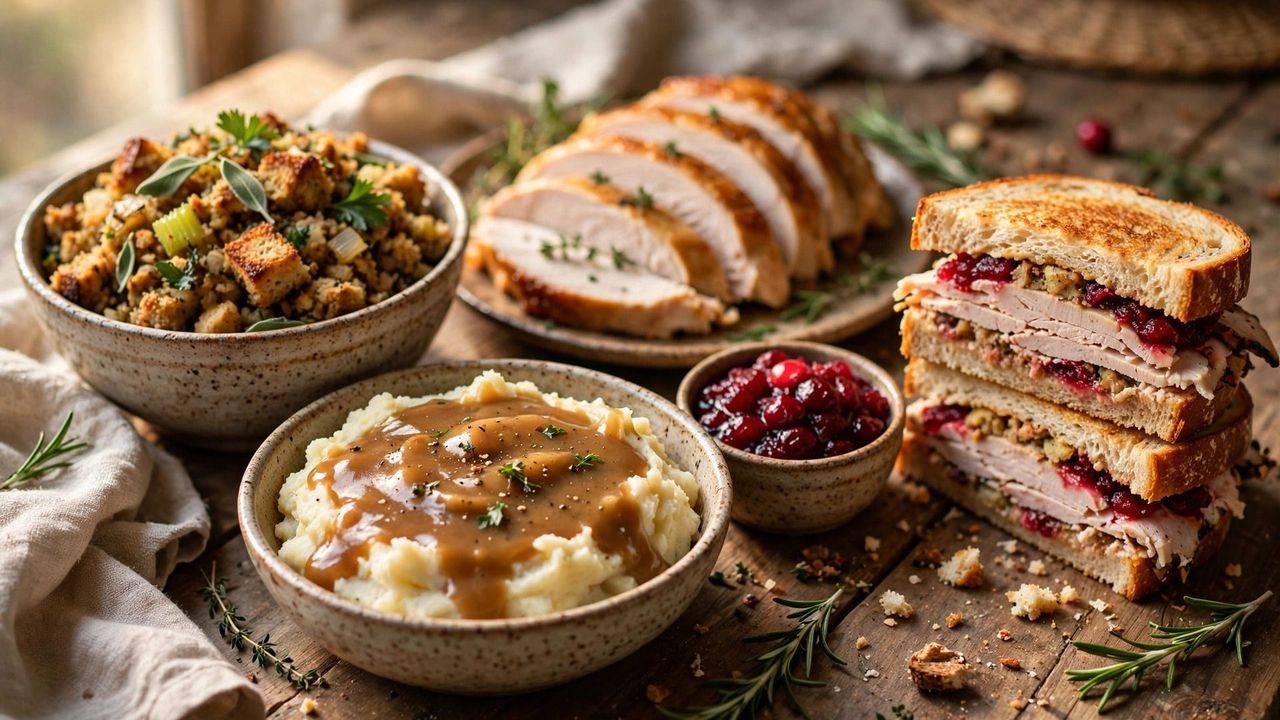
Carve all the remaining meat off the bones before you refrigerate it. Sliced meat cools faster and more evenly than a whole breast on the carcass, takes up far less fridge space, and is ready to use for sandwiches and recipes. Get leftovers into the fridge within 2 hours of the meal ending.
- Containers: Pack meat in shallow, airtight containers or sealed bags, in portions you will actually use.
- Fridge life: Cooked turkey keeps 3 to 4 days in a fridge at or below 40 degrees.
- Freezing: For longer storage, freeze sliced turkey with a spoonful of gravy or stock in the bag to protect it from drying out. Use within about 4 months for best quality.
- Reheating: Reheat leftovers until they are steaming hot all the way through, 165 degrees. Bring leftover gravy back to a rolling boil before serving.
- The carcass: Refrigerate or freeze the bones the same night if you plan to make stock.
Common Carving Mistakes to Avoid
- Skipping the rest: The fastest route to dry breast meat and a board flooded with juice.
- Using a dull knife: It tears instead of slicing, and you end up with shredded meat and ragged skin.
- Sawing in short strokes: Use long, smooth strokes with the whole blade for clean slice faces.
- Cutting through bone: Turkey joints separate easily if you find them. Force and sawing mean you are in the wrong place.
- Slicing with the grain on the breast: Long fibers make slices chewy. Across the grain is the secret to tender bites.
- Carving in the roasting pan: It is unstable, cramped, and swimming in drippings. Move the bird to a big board.
- Letting slices sit uncovered: Carved meat dries out fast. Plate it, gloss it with juices, cover loosely, and serve.