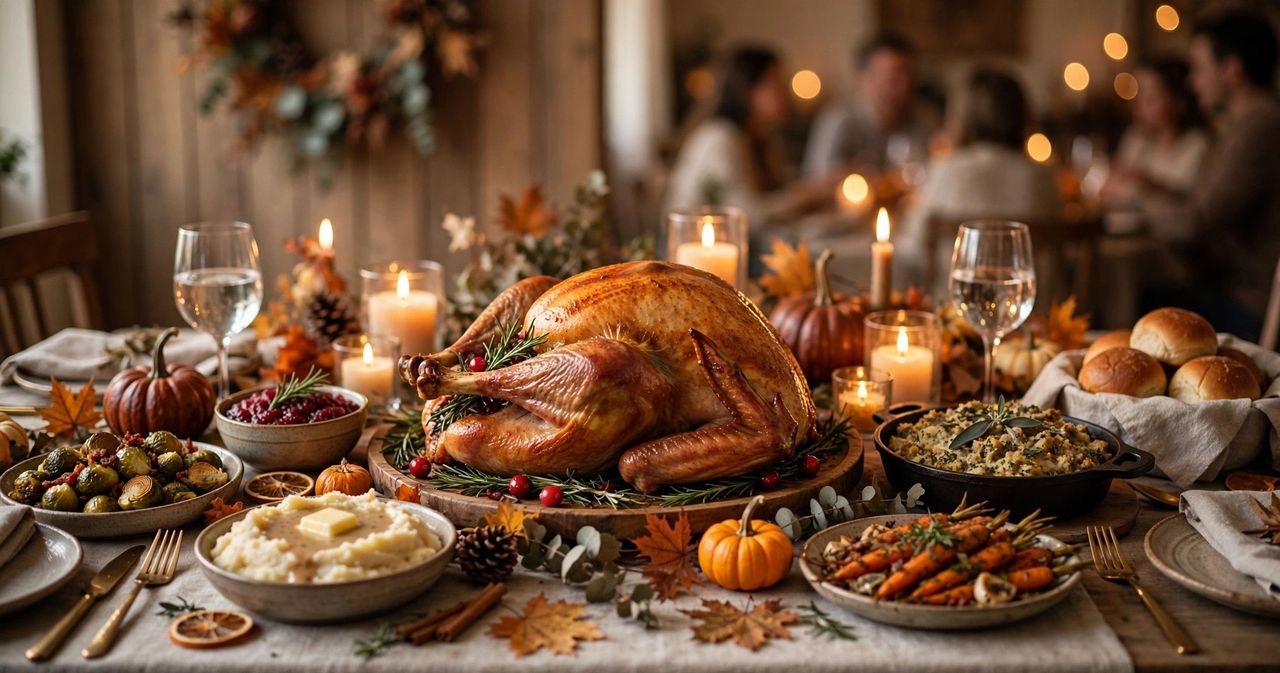
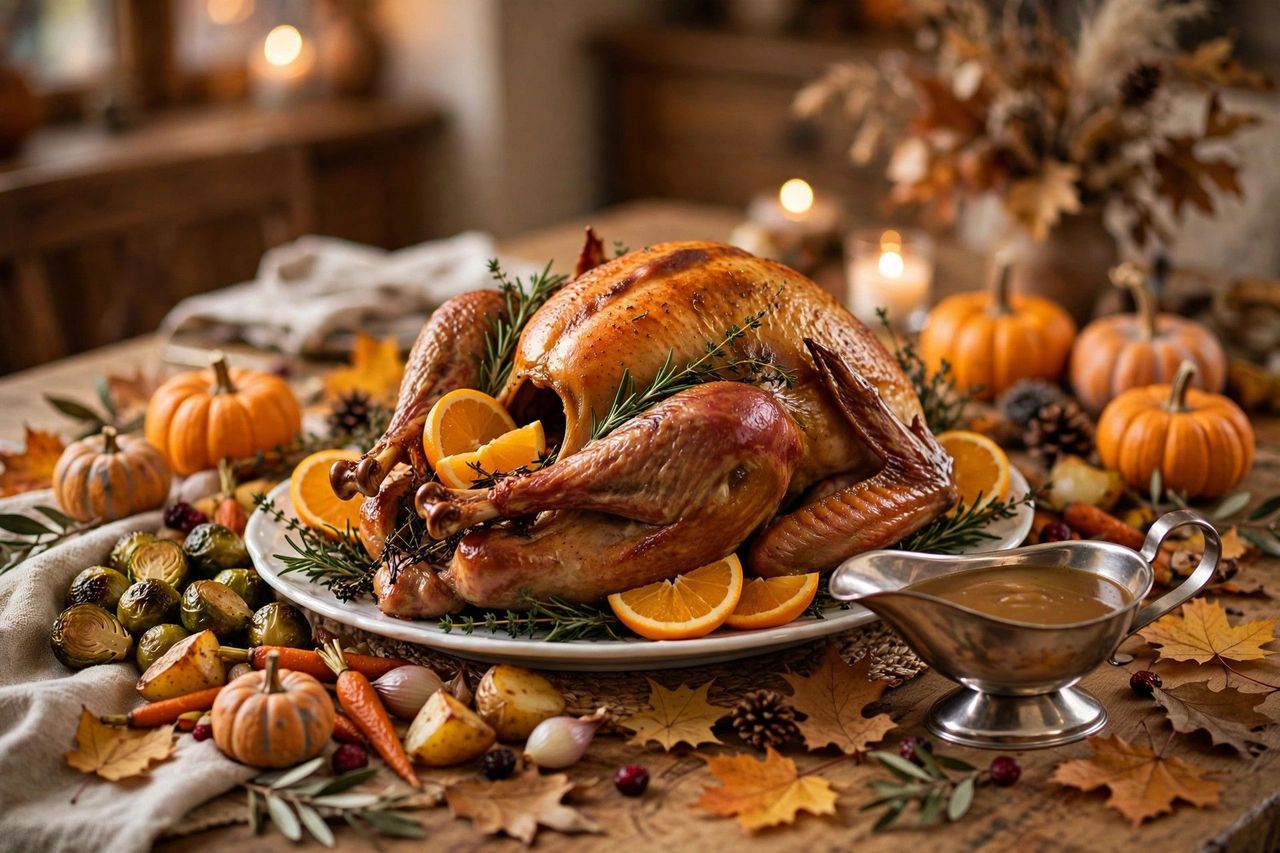
The turkey is the centerpiece of Thanksgiving dinner and the dish that makes first-time hosts the most nervous. It does not have to be stressful. Whether you roast it classic-style, brine it for extra juiciness, or go with a faster method like spatchcocking, success comes down to a few fundamentals: thaw it in time, season generously, and cook to the right internal temperature. Here are the methods that work, plus smaller-bird options and the food safety rules that matter.
The Classic Roast: Step by Step
The traditional method that delivers the picture-perfect bird:
- Thaw properly: Thaw a frozen turkey in the refrigerator, allowing about 24 hours for every 4 to 5 pounds. A 15-pound turkey needs roughly 3 to 4 days.
- Prep: Remove the neck and giblets, pat the turkey completely dry with paper towels, and let it sit at room temperature for about an hour before roasting.
- Season: Rub softened butter or olive oil all over, then season generously with salt, pepper, and herbs like thyme, sage, and rosemary — under and over the skin.
- Roast: Roast at 325°F on a rack in a roasting pan, breast-side up. A 12 to 14 pound turkey typically takes about 3 to 3.5 hours; start checking early.
- Check the temperature: The turkey is done when a thermometer in the thickest part of the thigh reads 165°F. Check the breast and the stuffing too if stuffed.
- Rest: Let the turkey rest 20 to 30 minutes before carving so the juices redistribute. Tent loosely with foil.
Wet Brine vs Dry Brine
Brining is the single best upgrade for a juicy turkey. Both methods work — pick the one that fits your fridge space:
- Wet brine: Submerge the turkey in a saltwater solution (about 1 cup of kosher salt per gallon of water, plus optional sugar, herbs, and citrus) for 12 to 24 hours. Needs a large container or brining bag and serious fridge space.
- Dry brine: Rub the turkey all over with kosher salt and refrigerate uncovered for 1 to 3 days. Simpler, takes up less space, and produces beautifully crisp skin.
- Rinse and dry: After a wet brine, rinse the turkey and pat it very dry for the crispiest skin. Dry-brined birds just need a pat-down.
- Skip extra salt: Brined turkeys are already seasoned — go easy on additional salt in your rub.
- Check the label: Many store-bought turkeys are pre-brined or "enhanced" with a salt solution. Brining those again makes the meat too salty.
Spatchcock & Other Methods
- Spatchcocked turkey: Remove the backbone with kitchen shears and flatten the bird. It roasts in nearly half the time, cooks more evenly, and the skin crisps all over.
- Smoked turkey: A smoker adds incredible flavor. Keep the temperature steady and use a mild wood like apple or cherry. Plan on a longer cook time.
Turkey Breast & Smaller Options
Not everyone needs a whole bird:
- Roasted turkey breast: A bone-in breast feeds 4 to 6 and roasts in about 1.5 to 2 hours. Perfect for small gatherings.
- Boneless turkey breast roast: The store-bought tied roasts cook evenly and carve beautifully — a great low-stress option.
- Two smaller turkeys: For a big crowd, two 10-pound turkeys cook faster and more evenly than one 20-pound bird, and you get double the drumsticks.
- Turkey alternatives: A glazed ham, roast chicken, or beef tenderloin can headline for families where turkey is not the favorite.
- Plan for leftovers: Allow about 1 to 1.5 pounds of turkey per person if you want generous leftovers; about 1 pound per person if not.
Carving & Food Safety
- Use a thermometer, not the clock: Ovens vary and birds vary — 165°F in the thickest part of the thigh is the only reliable doneness test.
- Carve in the kitchen: Remove the legs and thighs first, then slice the breast meat against the grain. Arrange on a warmed platter.
- Refrigerate promptly: Carve leftover meat off the bone and refrigerate within 2 hours of serving. Use within 3 to 4 days, or freeze for longer storage.
- Reheat safely: Bring leftover turkey to 165°F when reheating, and reheat gravy to a rolling boil.