
How to Carve a Pumpkin Step by Step: Easy Guide for Beginners 2026
Published October 9, 2026 · Updated October 9, 2026 · By EventBuzz Team
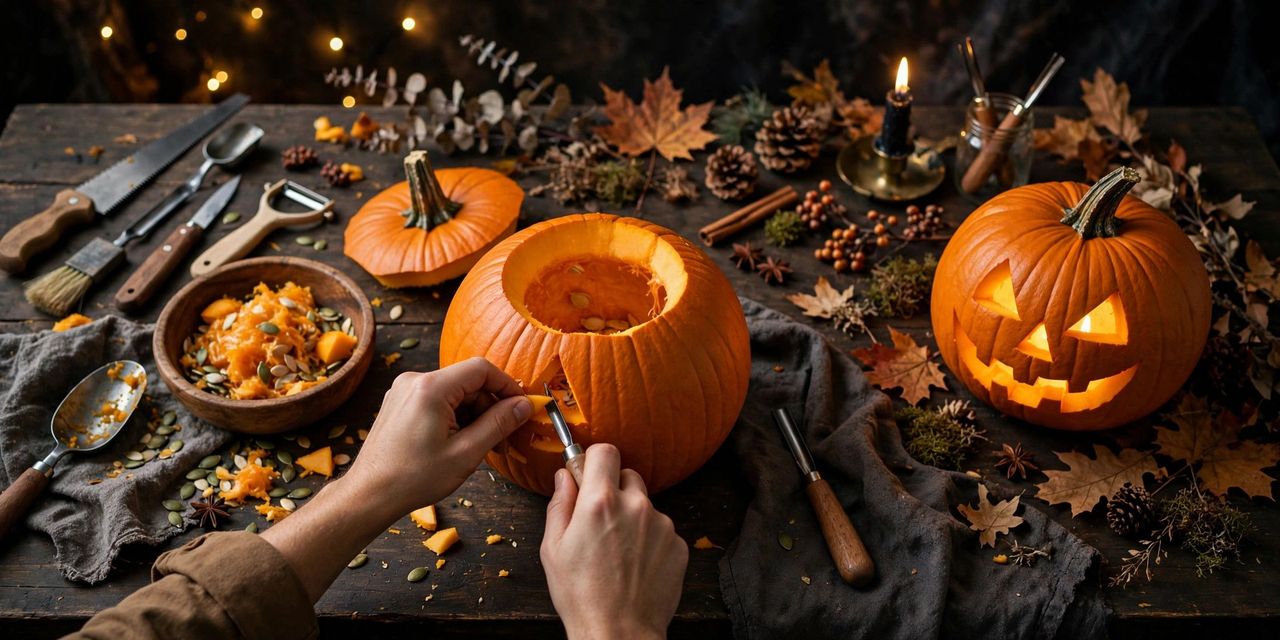
A carved pumpkin glowing on the doorstep is Halloween's front door. If you have never carved one, the process is simpler than it looks: choose well, cut safely, follow the steps, and light it right. This beginner guide walks you through pumpkin carving step by step for Halloween 2026, with tool lists, five forgiving first designs, preservation tricks, and notes for the USA and UK.
What You Need Before You Start
- A carving pumpkin (details below) plus a spare, if budget allows, for practice
- Carving tools: a serrated pumpkin saw or serrated kitchen knife, a sturdy metal spoon or ice-cream scoop, a poker or skewer for transferring patterns
- Optional upgrades: a pumpkin carving kit (inexpensive every October), a hand drill or apple corer for perfect circles, linoleum cutters for surface detail
- Pattern supplies: printed stencil or drawing, tape or pins, a marker or the poker tool for dot-transfer
- Lighting: LED tea lights or a short string of battery fairy lights (safer and windproof), or a real candle in a glass jar
- Cleanup kit: a large bowl for seeds and pulp, newspaper or a tray underneath, and a towel you do not love
Avoid very large kitchen knives for detail work. The short serrated saws in carving kits exist because they flex less and slip less in pumpkin flesh.
Step 1: Choose the Right Pumpkin
Pick a pumpkin that is firm all over with no soft spots, mould, or deep bruises. A flatter face gives you a better canvas; a healthy green-brown stem means a fresher pumpkin. Tap it: a hollow sound suggests thinner walls, which carve more easily. In the USA, farm stands and grocery stores label "carving pumpkins" separately from pie pumpkins. In the UK, supermarket carving pumpkins arrive through October and sell out in the final week, so buy by the last weekend before Halloween.
Step 2: Cut the Lid (or the Bottom)
Draw a circle or hexagon around the stem, roughly 10 to 15 cm across. Cut at a slight inward angle with a sawing motion so the lid sits back on like a plug instead of falling inside. Many beginners now cut the bottom instead: the pumpkin then sits over the candle, the top stays pristine, and lighting takes two seconds. Either works; angled cuts are the whole secret.
Step 3: Scoop It Clean
Scrape out seeds and strings with your spoon, then keep scraping the inside wall of your carving face until it is about 2 to 3 cm thick. Thinner walls carve easier and glow brighter. Save the seeds in your bowl; roasted pumpkin seeds with salt or cinnamon sugar are the carver's wages.
Step 4: Choose and Transfer Your Design
Tape your printed pattern flat against the pumpkin, smoothing wrinkles, or draw freehand with a marker. Transfer the design by poking dots along the lines with your skewer, close together on curves. Remove the paper and, if the dots are hard to see, connect them lightly with a pen. Beginners should pick bold shapes with wide bridges; fine detail collapses in real pumpkin flesh.
Step 5: Carve From the Centre Out
Start with the smallest details and the centre of the design, working outward so your hand never presses on finished, weakened sections. Use a gentle sawing motion and let the serrated edge work; forcing a blade straight down is how pumpkins (and evenings) get ruined. Push cut pieces out from inside with a finger rather than pulling from the front.
Step 6: Clean Up the Edges
Trim stray fibres with a small knife or linoleum cutter, wipe the face with a damp cloth, and check symmetry in a mirror or phone photo. Small flaws vanish at candlelight distance; carving folk call this "lantern forgiveness" and rely on it heavily.
Step 7: Light It Properly
Place an LED tea light or battery fairy lights inside for the safest, windproof glow, and add a second light for bigger pumpkins. Using a real candle? Set it in a short glass jar, never leave it unattended, and keep the pumpkin away from curtains, costumes, and doorsteps crowded with dry leaves. Cut a small chimney hole in the lid if candle heat builds up and the lid scorches.
Step 8: Make It Last to October 31
A carved pumpkin is a countdown. Carve as close to Halloween as you can, ideally October 29 to 31 for 2026. Slow the decay: soak the carved pumpkin in cold water for an hour to firm it up, dry it, then rub cut edges with petroleum jelly or a little vegetable oil to seal in moisture. Keep it in the coolest spot available (a fridge overnight works miracles) and mist with water daily.
Five Forgiving First Designs
- Classic triangle face: triangle eyes, triangle nose, wide zigzag smile. The design in our guide photo, and still the champion.
- Cat face: two triangle ears cut into the top edge, oval eyes, whisker lines scored on the surface instead of cut through.
- Big crescent moon and stars: one bold moon curve with star holes punched by a drill or corer. Very few cuts, enormous glow.
- Goofy one-tooth grin: a huge rounded smile with one square tooth. Comedy hides every wobble in your lines.
- Your house number or initial: one bold letter or number. Useful all evening, personal, and impossible to get wrong with a printed stencil.
Safety Rules (Especially With Kids)
- Adults do the cutting. Children draw the design, poke the dots, and scoop (the part they actually love).
- Cut away from your body, keep hands dry, and never hold the pumpkin from inside while cutting near that spot.
- Use LED lights where children or pets will be near the display, and place real-candle pumpkins where costumes cannot brush them.
- Wash hands and tools after carving; raw pumpkin is food, so treat the workspace like a kitchen.
Budget Notes (USA and UK)
Pumpkins are among Halloween's cheapest joys. A carving pumpkin costs a few dollars in the USA and a few pounds in the UK, carving kits are inexpensive seasonal staples in both countries, and everything else comes from the kitchen drawer. Buy two pumpkins if you can: one to learn on, one to show. After Halloween, uncarved spares become soup, and carved ones go to compost, not the bin, where your council or city allows.
Carve late, light safely, and judge only by candlelight. Under those rules, every beginner's pumpkin looks like a masterpiece.
Conclusion
Choose a firm pumpkin, cut an angled lid, scoop to a clean thin wall, transfer bold shapes, and carve from the centre out. With LED light and a cool resting spot, your first jack-o'-lantern will glow proudly on Saturday, October 31, 2026. Take the photo at dusk; that is when pumpkins look like magic.
Keep planning with the rest of our Halloween 2026 series:
Happy carving, and a very happy Halloween!
Frequently Asked Questions
When should I carve my pumpkin for Halloween 2026?
Carve between October 29 and 31 for the freshest display on Saturday, October 31. Soaking the carved pumpkin, sealing the edges, and keeping it cool overnight can stretch a good pumpkin to four or five days.
What is the best tool for carving a pumpkin?
A short serrated pumpkin saw from an inexpensive carving kit is safest and easiest for beginners. Add a sturdy spoon for scooping, a skewer for transferring patterns, and a hand drill or corer for perfect round holes.
How do I stop my carved pumpkin going mouldy so fast?
Scoop thoroughly, soak in cold water, dry, and rub the cut edges with petroleum jelly or oil. Store it somewhere cool, ideally refrigerated overnight, mist daily, and bring it out for display in the evening.
Can children help carve pumpkins safely?
Yes, with jobs matched to age: drawing the design, poking the transfer dots, and scooping the insides. Adults handle all blades, and LED lights replace candles wherever children or pets will be near the pumpkin.
Should I cut the lid or the bottom of the pumpkin?
Cutting the bottom lets the pumpkin sit directly over the light and keeps the stem and top looking perfect. Cutting an angled lid is the classic method and makes scooping easy. Both work; the angled cut is the important part.
Pumpkin Carving Kits
Tool kits that make carving cleaner, safer and a lot more fun.
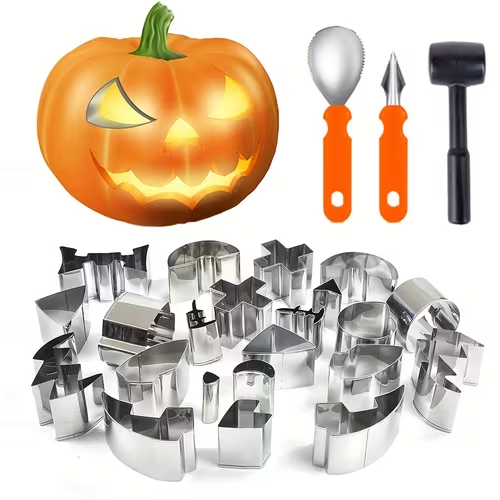
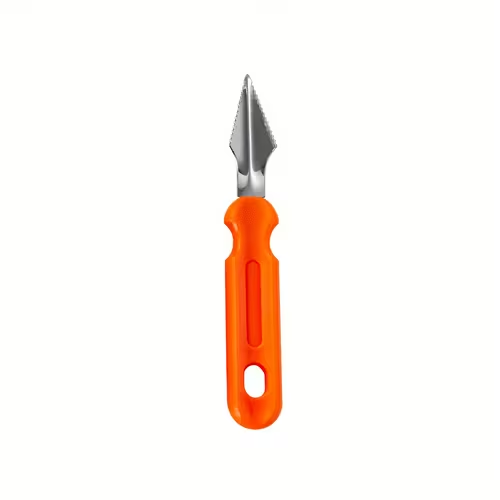
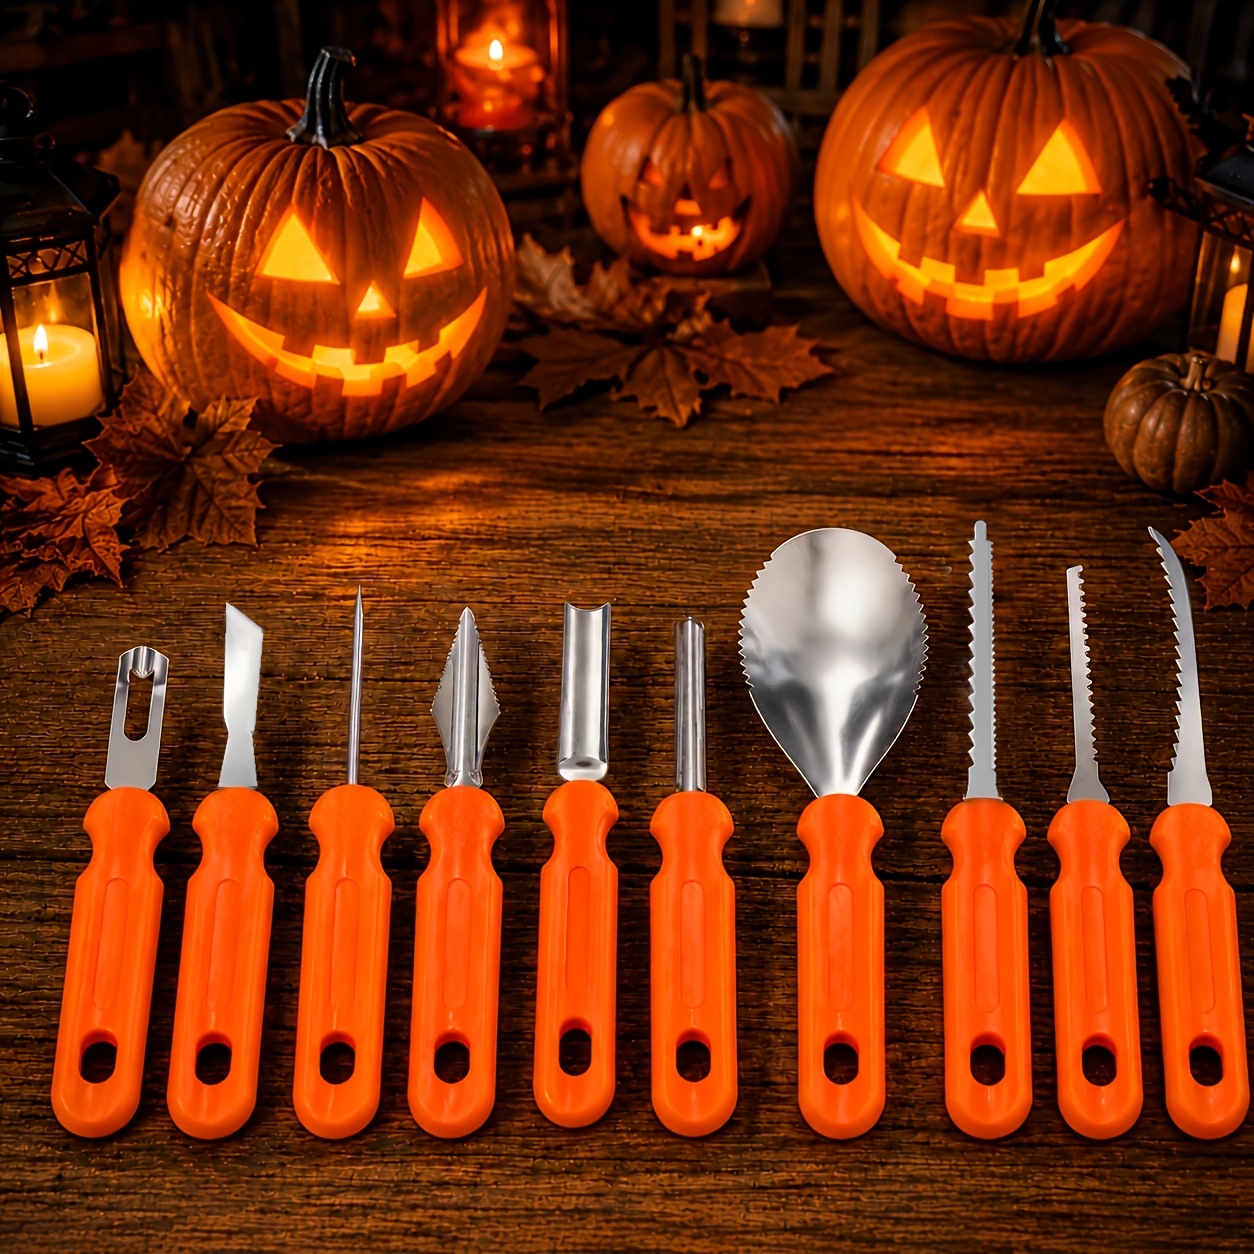
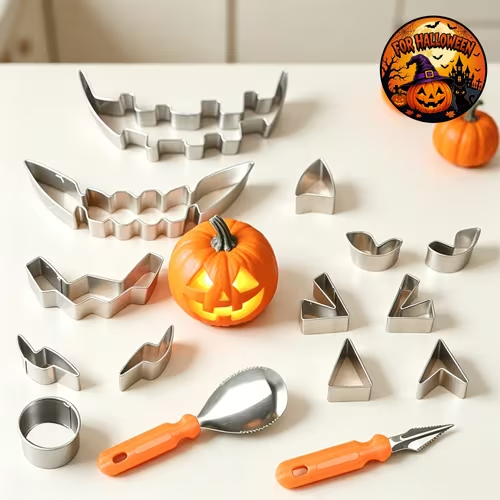
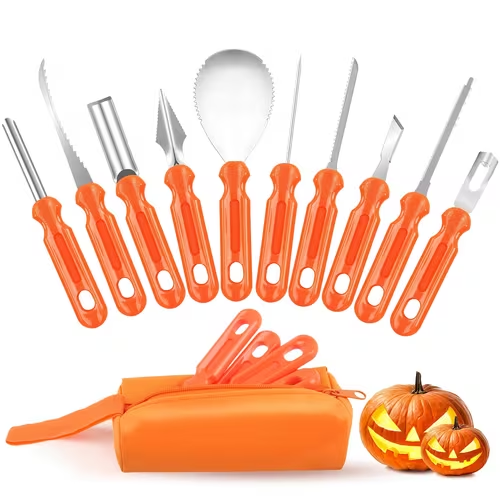
Prices shown at the time of publishing and can change. Links take you to Temu, where shipping and delivery details are shown.