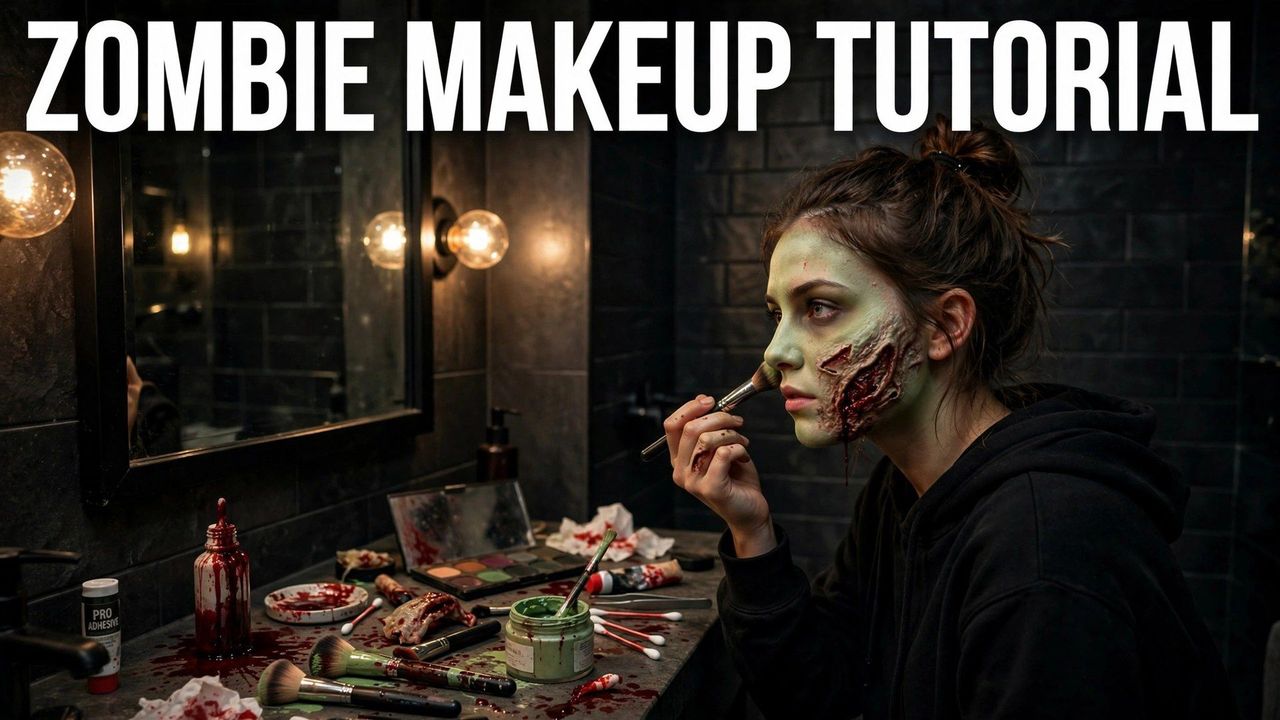
Zombie is the greatest Halloween costume ever invented: it works with any clothes you own, it suits every age, and the makeup does all the talking. You do not need a film-school SFX kit either — with drugstore makeup, a little liquid latex, and one bottle of fake blood, a beginner can build a genuinely gruesome zombie face in under an hour. The secret is layering: pale skin, sunken features, texture, then gore.
This 2026 step-by-step tutorial walks you through the full process: the affordable products to buy, prepping your skin, building the undead base, adding wounds and details, and — just as important — getting it all off at the end of the night.
What You Need: The Affordable Zombie Kit
- Base: pale foundation or white/grey cream makeup, plus a grey-green eyeshadow palette.
- Contour & detail: black, dark brown, and deep red eyeshadows; black eyeliner; dark red or black lipstick.
- SFX: liquid latex, tissue paper or cotton balls, fake blood (gel and liquid), and spirit gum remover or oil-based remover.
- Tools: makeup sponges, stipple sponge, assorted brushes, and cotton swabs for detail work.
- Setting: translucent powder or setting spray so it survives the night.
- Skin safety: do a patch test 24 hours ahead if you have sensitive skin, and never put latex on irritated or broken skin.
Total cost: most of this comes to $15–$25 at a drugstore or Halloween shop, and leftovers last for years.
Step 1: Prep & the Undead Base
Start with clean, moisturized skin — makeup adheres better and removes easier. Tie hair back and apply a thin barrier of moisturizer. Now kill your healthy glow: apply pale foundation or white cream makeup over the whole face, ears, and neck, blending down past the jawline (a pale face on a normal neck ruins the illusion). Do not aim for even coverage; zombies are blotchy. Dab, do not rub, and leave it slightly uneven. Set lightly with translucent powder so the next layers have something to grip.
Step 2: Sunken Eyes & Hollow Cheeks
This step creates 80% of the zombie effect. With dark brown and grey eyeshadow, carve deep hollows: shade the eye sockets heavily, extending shadow down toward the cheekbones and up toward the temples. Add black in the inner corners and along the lower lash line, then smudge outward — messy is good. Hollow the cheeks by shading beneath the cheekbones, darken the temples, and shade the sides of the nose to narrow it. Add deep red around the eyes' edges for an irritated, infected look. Finish with dark, cracked lips: apply dark lipstick, then blot most of it away so it looks dried and uneven.
Step 3: Wounds, Scratches & Texture
Now the fun part. For a classic latex wound: tear (do not cut) a small piece of tissue, lay it on the cheek or forehead, and stipple liquid latex over it with a sponge. Build two to three layers, letting each dry until clear. Once dry, tear a hole in the center with tweezers — the ragged torn edge looks like real torn flesh. Fill the center with dark red shadow, line the torn edges with liquid fake blood, and let it drip naturally. For scratches: drag a cotton swab loaded with red shadow and gel blood across the skin in parallel lines. For general decay texture, stipple latex thinly over the chin and forehead, let dry, and crack it slightly — instant rotting skin.
Step 4: Blood, Dirt & Final Details
Gore is about placement, not quantity. Drip liquid blood from the mouth corners and let it run down the chin — then blot the center so it looks partially dried. Add blood to the wound edges, knuckles, and shirt collar (use an old shirt; fake blood stains). Stipple brown and grey shadow over the forehead and jaw for grime. Mess the hair: backcomb it, add dry shampoo for a dusty look, or spike it with gel. Darken the fingernails with black or deep red polish, chipped intentionally. Step back and check in dim light — zombies are judged in the dark, where contrast matters more than precision.
Zombie Variations for 2026
- Classic shambler: the full tutorial above with torn clothes. Timeless.
- Zombie bride/groom: add a thrifted veil or bow tie and pale romantic makeup under the gore.
- Prom zombie: 80s dress or tux plus gore — funny and photogenic.
- Zombie athlete: sports jersey, eye black gone wrong, torn uniform.
- Fresh vs. rotted: fresh zombies need mostly pale skin and one wound; fully rotted ones get heavy texture and exposed-bone details (painted white latex ridges).
- Kid-safe zombie: skip latex and blood; pale face paint, dark eye circles, and torn clothes are plenty for little ones.
Removal: Getting It All Off
Do not go to sleep in SFX makeup. Peel latex off slowly from the edges — never rip. Dissolve remaining latex and cream makeup with oil-based remover, coconut oil, or baby oil, massaging gently. Wash with a gentle cleanser, then moisturize well; SFX makeup is drying. Fake blood washes out of skin with soap and warm water, though it may tint slightly for a day (a badge of honor). Wash pillowcases promptly if any transfers, and launder the costume separately the first time. Your skin will thank you for the full removal routine.
Zombie Costume Pairings
Great makeup deserves the right outfit. The classic pairing is normal clothes gone wrong: office wear with a torn sleeve, a prom dress with a ripped hem, sports gear with grass stains. Thrift stores are zombie gold — buy the cheapest suit or dress you can find and distress it with fake blood, dirt, and strategic tears. Add contact lenses (red or white-out) for maximum impact, but only prescription-safe lenses from reputable sellers, and never share them. Finish with darkened, chipped nail polish and scuffed shoes. Remember: the makeup is the star, so keep the costume simple. A zombie in a tuxedo is funnier and scarier than a zombie in a store-bought zombie costume.