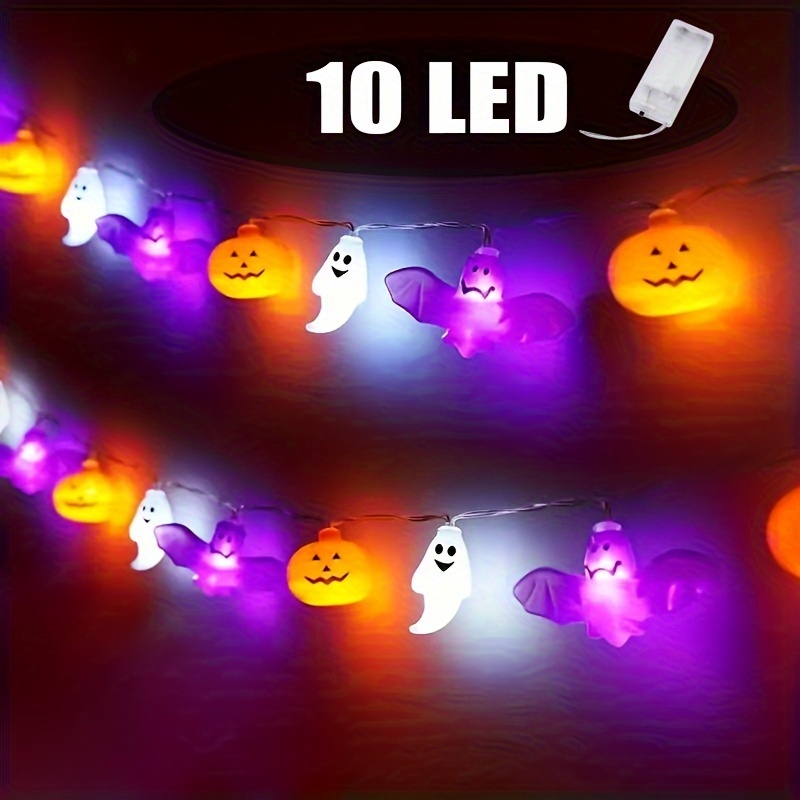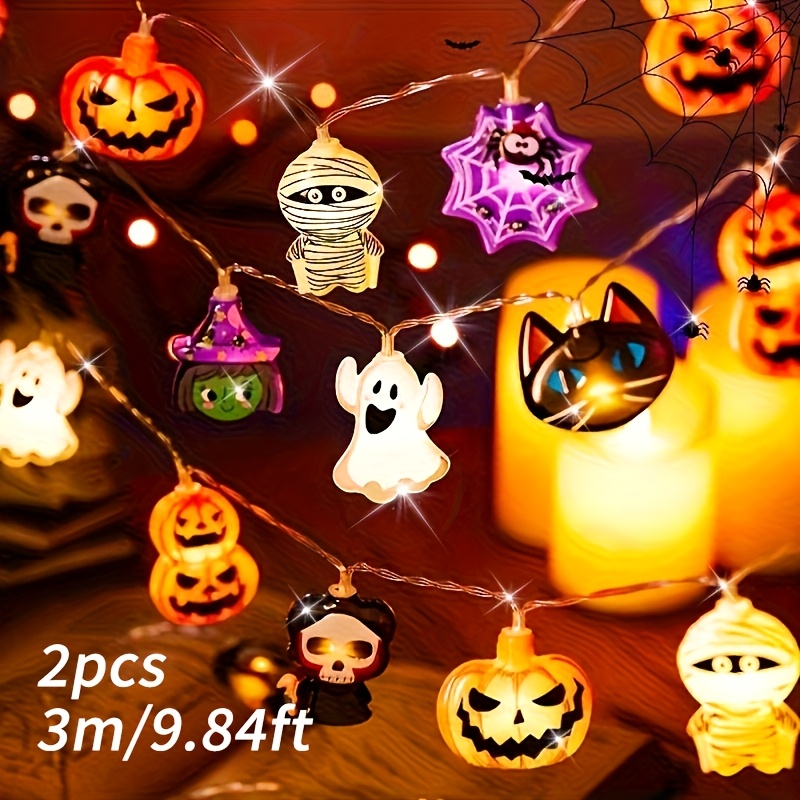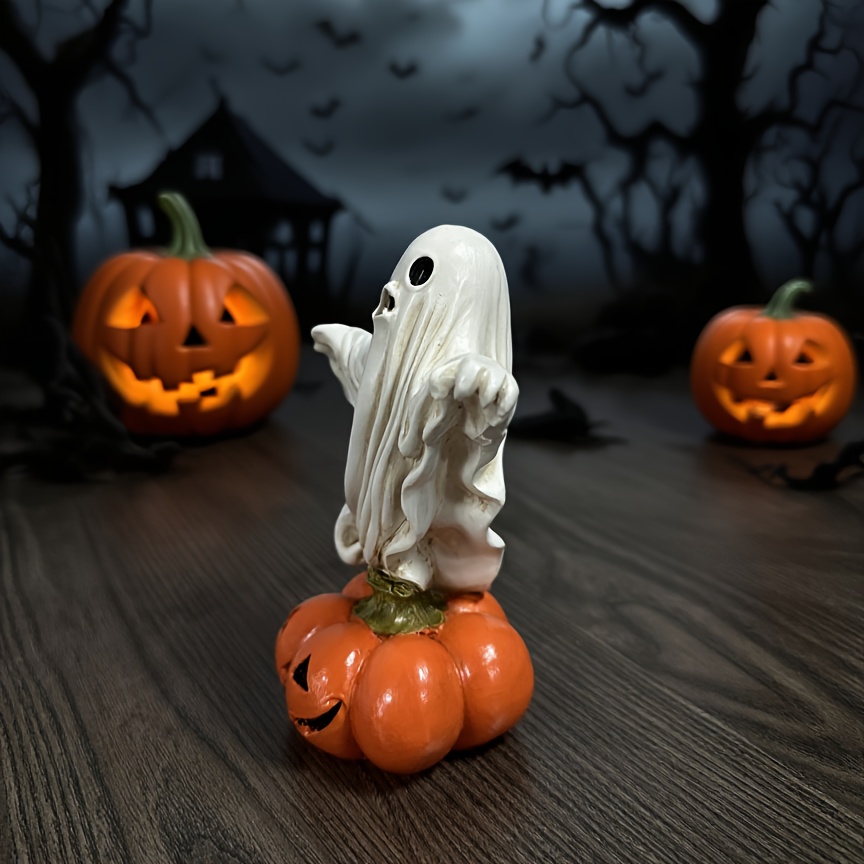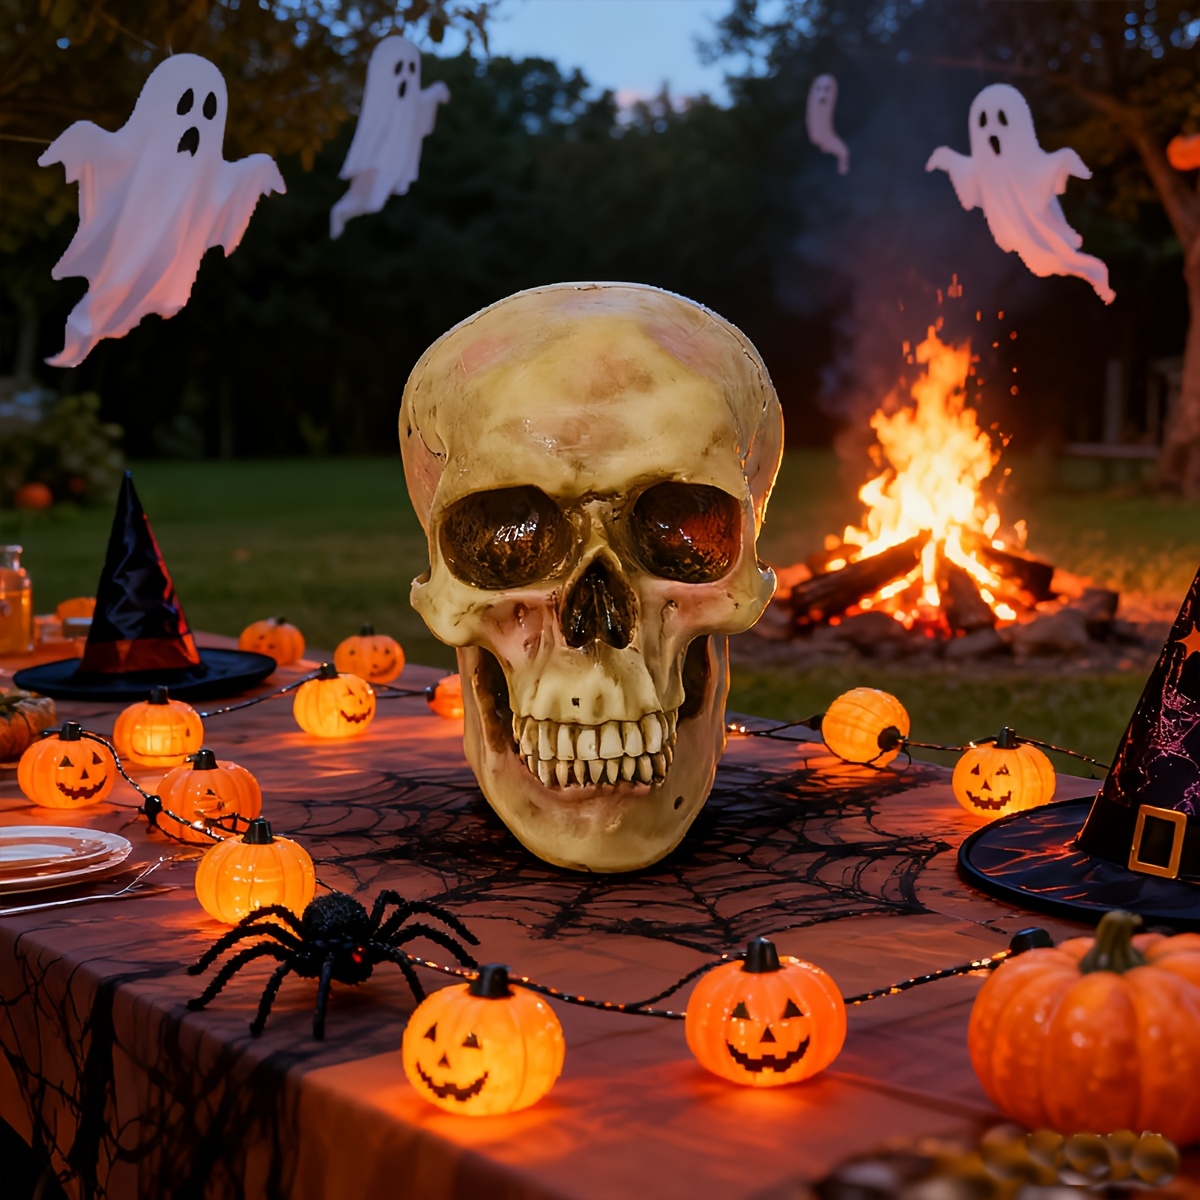
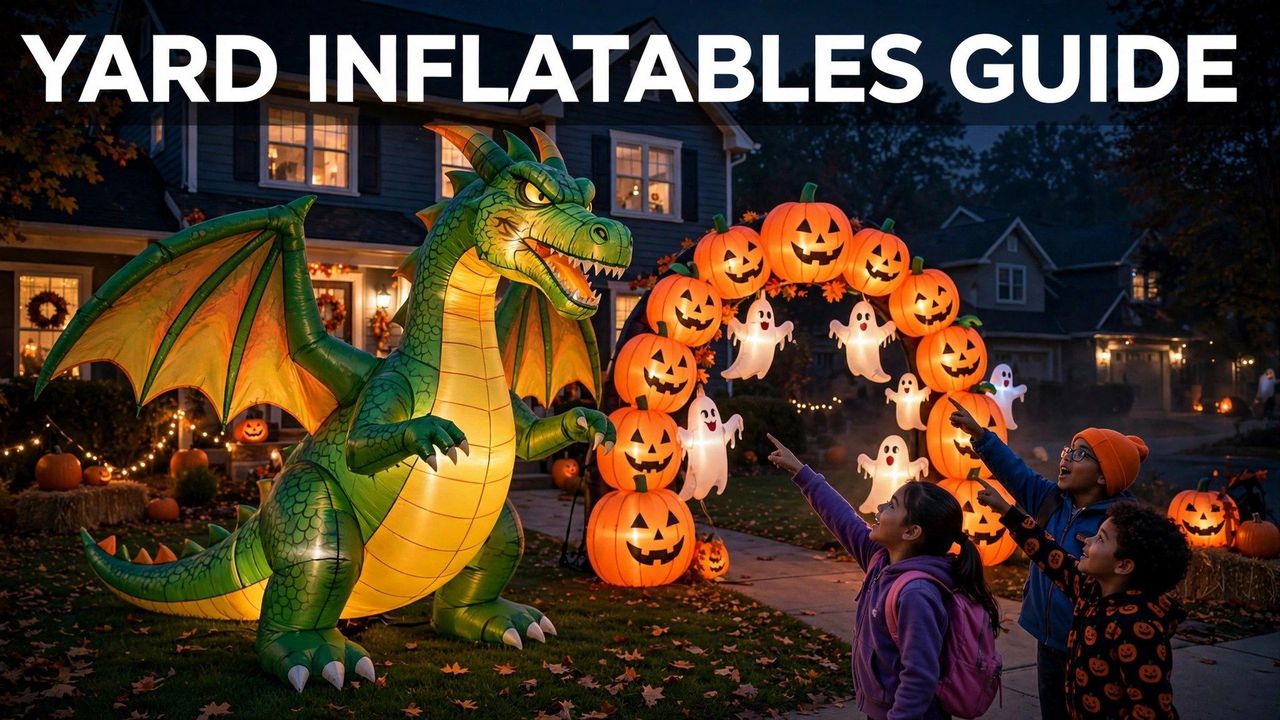
Nothing transforms a yard faster than an inflatable. Ten minutes, one extension cord, and your lawn goes from ordinary to the street's Halloween headquarters — glowing ghosts, towering pumpkins, and witches visible from three blocks away. Inflatables are the highest-impact-per-dollar Halloween decoration: no ladders, no staples, no artistic talent required, and they pack flat in January.
This 2026 buying and setup guide covers how to choose the right inflatables for your yard, the designs worth your money, setup tips that keep them standing through October weather, and storage advice so they survive for years. Whether you want one statement piece or a full inflatable village, start here.
Why Inflatables Win for Halloween Yards
Inflatables solve every classic decorating problem. They are big — 6 to 12 feet tall — so they read from the street, where most of your audience is. They self-light with built-in LEDs, doubling as nighttime decor without extra spotlights. Setup takes minutes and one person: stake the tethers, plug in the fan, watch it rise. Takedown is just as fast, and storage is a fraction of the space rigid decorations need. For renters, busy parents, and anyone who dreads untangling string lights on a ladder, inflatables are the pragmatic path to a great-looking yard.
Best Inflatable Designs for 2026
- The classics: giant pumpkin, friendly ghost, black cat, and witch — timeless, readable from the road, and they never look dated.
- Statement pieces: 10–12 ft haunted house, giant spider with web, or towering reaper for maximum curb presence.
- Animated & scene inflatables: multi-character scenes (trick-or-treaters, pumpkin patch crews) with moving parts add life and story.
- Projection hybrids: inflatable movie-screen style backdrops that pair with projectors for animated faces and scenes.
- Archways & tunnels: inflatable pumpkin or monster-mouth archways frame your walkway and guide trick-or-treaters to the door.
- For small yards: 4–6 ft tabletop-scale inflatables for porches, balconies, and apartment patios.
One big inflatable beats three small ones for visual impact. Start with a single 8-footer, then expand next year.
What to Check Before You Buy
- Size vs. yard: measure your space and check sightlines from the street. A 12-footer needs room to breathe; in a small yard it overwhelms.
- Fan quality: look for quiet, efficient blowers. Cheap fans are loud enough to annoy neighbors and burn out faster.
- LED brightness: built-in LEDs should be bright enough to read at night from the sidewalk. Check reviews for "dim" complaints.
- Tethers & stakes: more anchor points mean better wind resistance. Six tethers beat four.
- Material weight: thicker polyester (look for 190T or higher) resists tears and fading far better than thin fabric.
- Zipper access: a zipper near the fan makes bulb replacement and drying possible — a longevity feature worth having.
Setup Tips: Stakes, Power & Placement
Placement first: position inflatables where they face the street, keep them clear of walkways and the path trick-or-treaters use, and avoid low tree branches that can snag fabric. Stake every tether — no exceptions — and in windy areas add sandbags at the base. For power, use an outdoor-rated extension cord on a GFCI outlet, keep connections off the ground and out of puddles, and put the display on a timer so it runs dusk to 10 or 11 p.m. (your electric bill and your neighbors will thank you). Inflate a test run in daylight to check positioning before the big reveal, and never run the fan in standing water.
Weather, Safety & Neighbor Etiquette
Inflatables handle rain fine — the fan keeps the shape — but deflate and bring them in for high winds, hail, or heavy snow; a 12-foot sail in a storm is a liability. Keep cords taped down across walkways, never overload a single outlet with multiple blowers, and use LED-only models near dry leaves rather than anything with heat. As for neighbors: keep blowers reasonably quiet after 10 p.m., aim lights at your yard not their windows, and take everything down within a week after Halloween. A great display earns admiration; a display still up at Thanksgiving earns eye-rolls.
Storage: Make Them Last for Years
Proper storage is the difference between a one-season purchase and a decade of Halloweens. Deflate completely, then let the fabric dry fully — packed-away moisture causes mildew that ruins inflatables. Fold loosely rather than cramming; sharp creases stress the material. Store in the original box or a breathable tote in a dry garage or closet, never a damp basement. Coil cords separately and label everything. Come next October, unpack a day early, test the fan and lights, and patch small tears with the included repair kit or clear tent-repair tape before setup day.
Label each storage box with the inflatable's name and a photo of it on display. Next October you will know exactly what you own without opening a single box, and your setup order becomes obvious: biggest statement piece first, supporting characters after.
Pairing Inflatables with Other Decor
Inflatables look best as part of a layered display, not floating alone on bare grass. Anchor the scene with pumpkins and hay bales at the base — they hide tethers and stakes while adding texture. String lights along the walkway guide eyes (and trick-or-treaters) toward the inflatables. Add a fog machine on Halloween night for genuine atmosphere; fog plus a glowing 10-foot ghost is unforgettable. Projected animations on the garage door behind the inflatables create depth — a haunted house facade behind a witch inflatable tells a story. And balance the cute with the creepy: one friendly ghost plus one genuinely eerie reaper gives your yard range. The goal is a scene, not a collection.