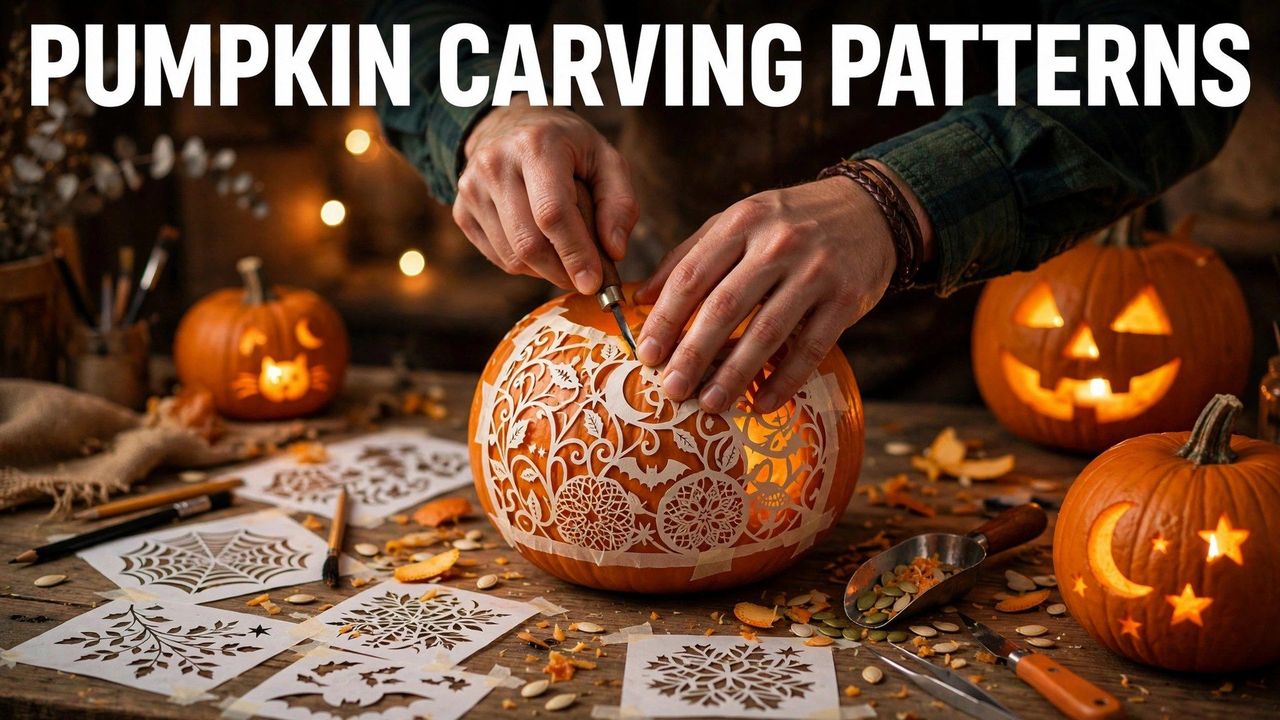
The difference between a lopsided triangle-face pumpkin and a jaw-dropping jack-o'-lantern is not talent — it is a pattern. Free carving stencils turn anyone into a pumpkin artist: print, transfer, and follow the lines. In 2026, the pattern world is bigger than ever, from one-minute cute faces for kids to multi-hour haunted scenes for the ambitious.
This guide rounds up the best pumpkin carving patterns for 2026, organized by difficulty: cute and easy designs, classic scary faces, intermediate scenes, and advanced showstoppers. Plus the carving techniques that make patterns work, and the preservation tricks that keep your masterpiece fresh through October 31.
Cute & Easy Patterns (15–30 Minutes)
Perfect for kids, beginners, and last-minute carving:
- Classic happy face: triangle eyes, round nose, big grin. The timeless starter.
- Cat silhouette: arched back, pointed ears, curled tail — instantly recognizable.
- Owl: two big round eyes and a beak; works beautifully on small pumpkins.
- Candy corn face: simple shapes arranged in the candy's stripes. Sweet and easy.
- Polka-dot pumpkin: drill holes in a dot pattern instead of carving — gorgeous when lit, zero knife skill needed.
- Cookie-cutter shapes: hammer metal cookie cutters (stars, moons, hearts) into the flesh for clean shapes.
Kids can draw their own faces with markers while adults handle the cutting — everyone participates.
Classic Scary Faces (30–60 Minutes)
The faces that made jack-o'-lanterns famous, leveled up with patterns:
- Vampire: angled eyes, fanged grin, widows-peak hairline etched into the skin.
- Witch: hooked nose profile, pointed hat, wart details. A silhouette classic.
- Screaming face: the wide-mouthed horror look — dramatic and surprisingly easy.
- Skull: hollow eyes, nose cavity, grinning teeth. Genuinely eerie when lit.
- Werewolf: snarling muzzle with etched fur texture around the edges.
Etching — shaving just the outer skin without cutting through — adds shading and detail that elevates scary faces enormously.
Intermediate Scenes & Silhouettes (1–2 Hours)
Ready for more? These patterns reward patience:
- Haunted house on the hill: layered silhouettes with lit windows (etch the windows, cut the outlines).
- Bats over the moon: a big etched moon with cut-out bat silhouettes flying across it.
- Graveyard scene: tombstones, a dead tree, and a rising moon — the quintessential spooky tableau.
- Spider web: etched web lines with a cut-out spider dangling. Stunning with backlight.
- Owl in the tree: perched owl silhouette with etched feather detail.
Print patterns at the right scale: measure your pumpkin's flattest face and size the print to fit with a one-inch margin.
Advanced Showstoppers (2+ Hours)
For the carver who wants the neighborhood talking:
- Portrait carving: transfer a photo with shading zones — cut, etch deep, etch light — for a grayscale image in pumpkin.
- 3D sculpted pumpkin: carve away the surface to sculpt faces and figures in relief, like woodcarving.
- Multi-pumpkin scenes: three to five pumpkins telling one story across your porch steps.
- Chimera designs: combine patterns — a haunted house with a portrait moon, bats, and etched clouds.
Advanced work needs the right tools: a proper carving kit with detail saws, clay ribbon tools for etching, and patience. Start these a few days before Halloween so you are not racing the clock.
Carving Techniques That Make Patterns Work
- Transfer cleanly: tape the pattern on, then poke along the lines with a pin or tracing wheel; remove the paper and connect the dots.
- Cut from the bottom: opening the bottom instead of the top gives a flat, stable base and hides the cut.
- Saw, do not stab: use a gentle sawing motion with the knife pointing away from you; let the tool do the work.
- Cut at an angle: angling cuts inward keeps pieces from falling inside and makes reinsertion easy.
- Etch for shading: shave thin layers of skin for translucent areas that glow softly — the secret of professional-looking pumpkins.
- Work in good light: mistakes happen in dim kitchens. Carve in daylight, admire at night.
How to Make Your Jack-o'-Lantern Last
A carved pumpkin is a race against rot, but you can buy days. Carve no earlier than 5–7 days before Halloween — sooner only if you preserve aggressively. After carving, soak the pumpkin in a bleach-water bath (1 teaspoon per gallon) for a few hours to kill mold spores, then coat all cut edges with petroleum jelly to seal in moisture. Store in the fridge or a cool garage overnight, and display out of direct sun. On Halloween night, use LED candles or string lights instead of real flames — heat accelerates decay. With this routine, even intricate carvings look fresh on October 31.
Keep a spray bottle of the diluted bleach solution handy for touch-ups: a light misting every couple of days keeps mold at bay on intricate cuts without harming the design.
No-Carve Pumpkin Decorating Ideas
Love the pumpkin look without the knife work? No-carve decorating has exploded, and the results rival carved designs. Paint pumpkins with acrylics — galaxy designs, monsters, or elegant metallics — for zero rot and weeks of display life. Decoupage with napkins or tissue paper creates intricate patterns with just glue. Drill patterns (dots, stars, constellations) give the glowing effect of carving with a power drill instead of a saw — stunning and much faster. Dress pumpkins up with googly eyes, pipe-cleaner arms, hats, and fabric for character pumpkins kids adore. No-carve pumpkins last the entire season since the skin stays intact, making them perfect for early-October decorating that still looks fresh on the 31st.