
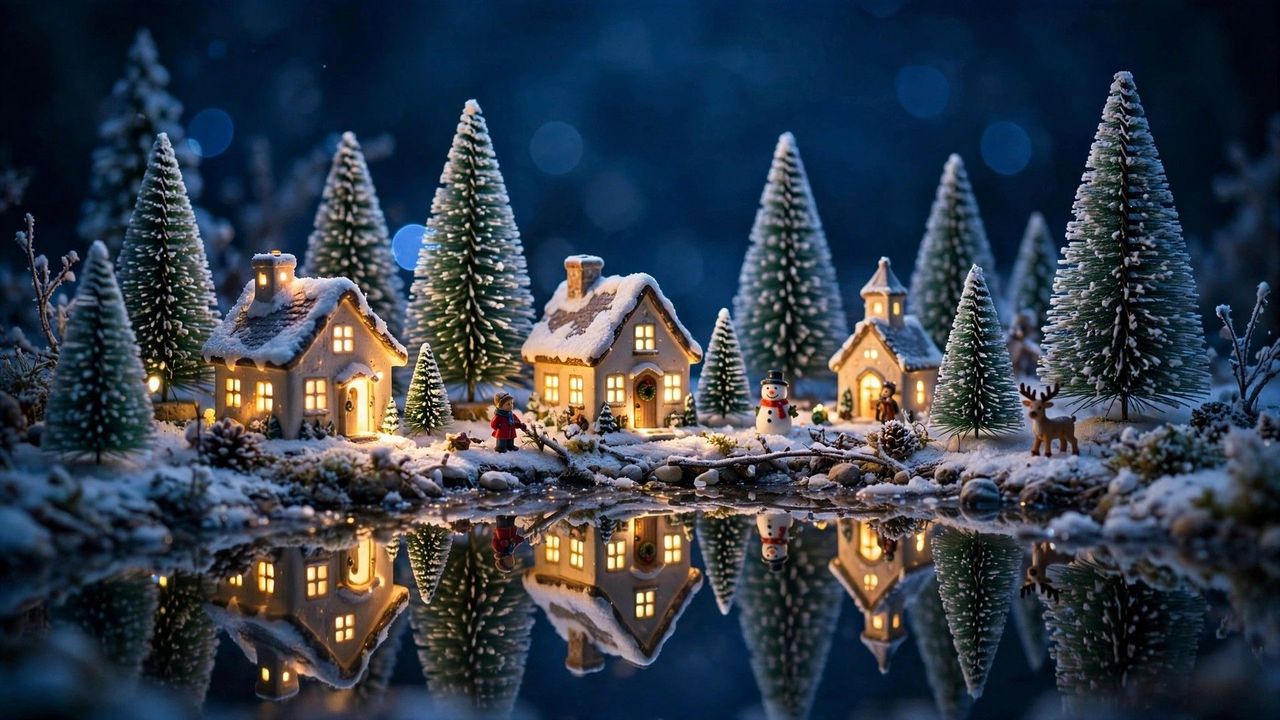
There is something deeply nostalgic about a Christmas village: a whole tiny town glowing under your tree or across your mantel, frozen in a perpetual snowy evening. Whether you inherited a beloved collection or are starting your first village this year, a little planning turns a pile of ceramic houses into a magical miniature world. Here is how to lay out, light, and finish a Christmas village display that stops guests in their tracks.
Planning Your Village Layout
Start by measuring your display surface and laying out the largest buildings first. Anchor the scene with a centerpiece building like a church, train station, or town hall placed slightly off-center, then arrange smaller houses and shops around it so every building is visible from the front viewing angle. Leave room between structures for streets, trees, and figurines; cramming everything together is the most common village mistake. Think in layers: tallest buildings at the back, mid-size houses in the middle, and small details like lamp posts and figures at the front edge. Sketch the layout on paper first if you have more than ten pieces, it saves a lot of rearranging.
Bases, Snow and Surfaces
The base is what makes a collection of buildings look like a world. Good options include:
- White batting or snow blankets: The classic choice. Layer it thickly and pull it up around building bases so no edges show.
- Foam board platforms: Cut 1 to 2-inch foam into hills and valleys, then cover with batting. Instant terrain with real dimension.
- Mirrored "ponds": A small round mirror set into the snow reads as a frozen pond and reflects the lights beautifully.
- Faux fur fabric: White or cream faux fur gives a plush, snowy look and hides cords underneath.
- Wooden trays or crates: For tabletop villages, a deep wooden tray contains the whole scene and looks intentional.
Whatever base you choose, make sure it is large enough that nothing hangs off the edge, and run all power cords underneath it.
Lighting the Village
Light is what transforms ceramic buildings into a glowing town at dusk. If your buildings have built-in light cords, plug them into a power strip with an on-off switch placed within reach, or better yet a timer plug that switches the whole village on at sunset. Supplement with these tricks:
- Miniature street lamps: A few battery-operated lamp posts along your "streets" add depth and charm.
- Fairy lights under the snow: A strand of warm white fairy lights tucked under the batting creates a soft glow across the whole scene.
- Spotlighting: A small clip-on spotlight aimed at the centerpiece building makes it the star of the village.
- Star or moon backdrop: Hang a dark blue cloth behind the village with battery fairy lights pinned on as stars for a night-sky effect.
Warm white light beats cool white for villages; it keeps the scene cozy rather than clinical.
Adding Details and Figures
Details are what separate a nice display from a magical one. Scatter bottle-brush trees in several sizes throughout the scene, cluster figurines into little scenes (carolers on a corner, skaters on the pond, a family by the tree), and add a miniature train circling the base if you have room for the track. Tiny touches like a dusting of fake snow on rooftops, wreaths on building doors, and a horse-drawn sleigh complete the illusion. Then dim the room lights, switch on the village, and watch it come alive.